Planning the Facade Post 1 – Existing Conditions
I wouldn’t call my endeavors to get rid of junk and catch up with routine cleaning blog worthy, at least not yet. So now seems like a good time to get back to what I really like writing about – obsessively scrutinizing old details and making fairly technical restoration plans. So to start, here’s the most important job I’ll do in Phase 2, restoring the façade.

The house. Facade restoration to come.
The good news is I have all the original window and door openings, the marble steps, and the cornice. None of these things are in good condition but they’re all there. Stripping these houses of their character was a thing, especially in the 70’s it seems.
Here’s a good view of all the abuse these houses get. From right to left, vertical siding on a cornice, removing lintels and sills, patching with non-matching brick, punching through holes for air conditioners, replacing facades entirely with ugly brick, and leaving the original facade in place but covering it over with new brick, formstone, stucco, or siding.

And so I snapped up something with enough left that it can be great someday. So let’s look at some of the details. At the top I have a pretty wooden cornice.
You don’t believe me? Under that siding I’m expecting to find this.

Of course I have no idea what condition it’s in. I’m hoping that most of it is restorable. What can’t be restored can be remade, some of it in stages.
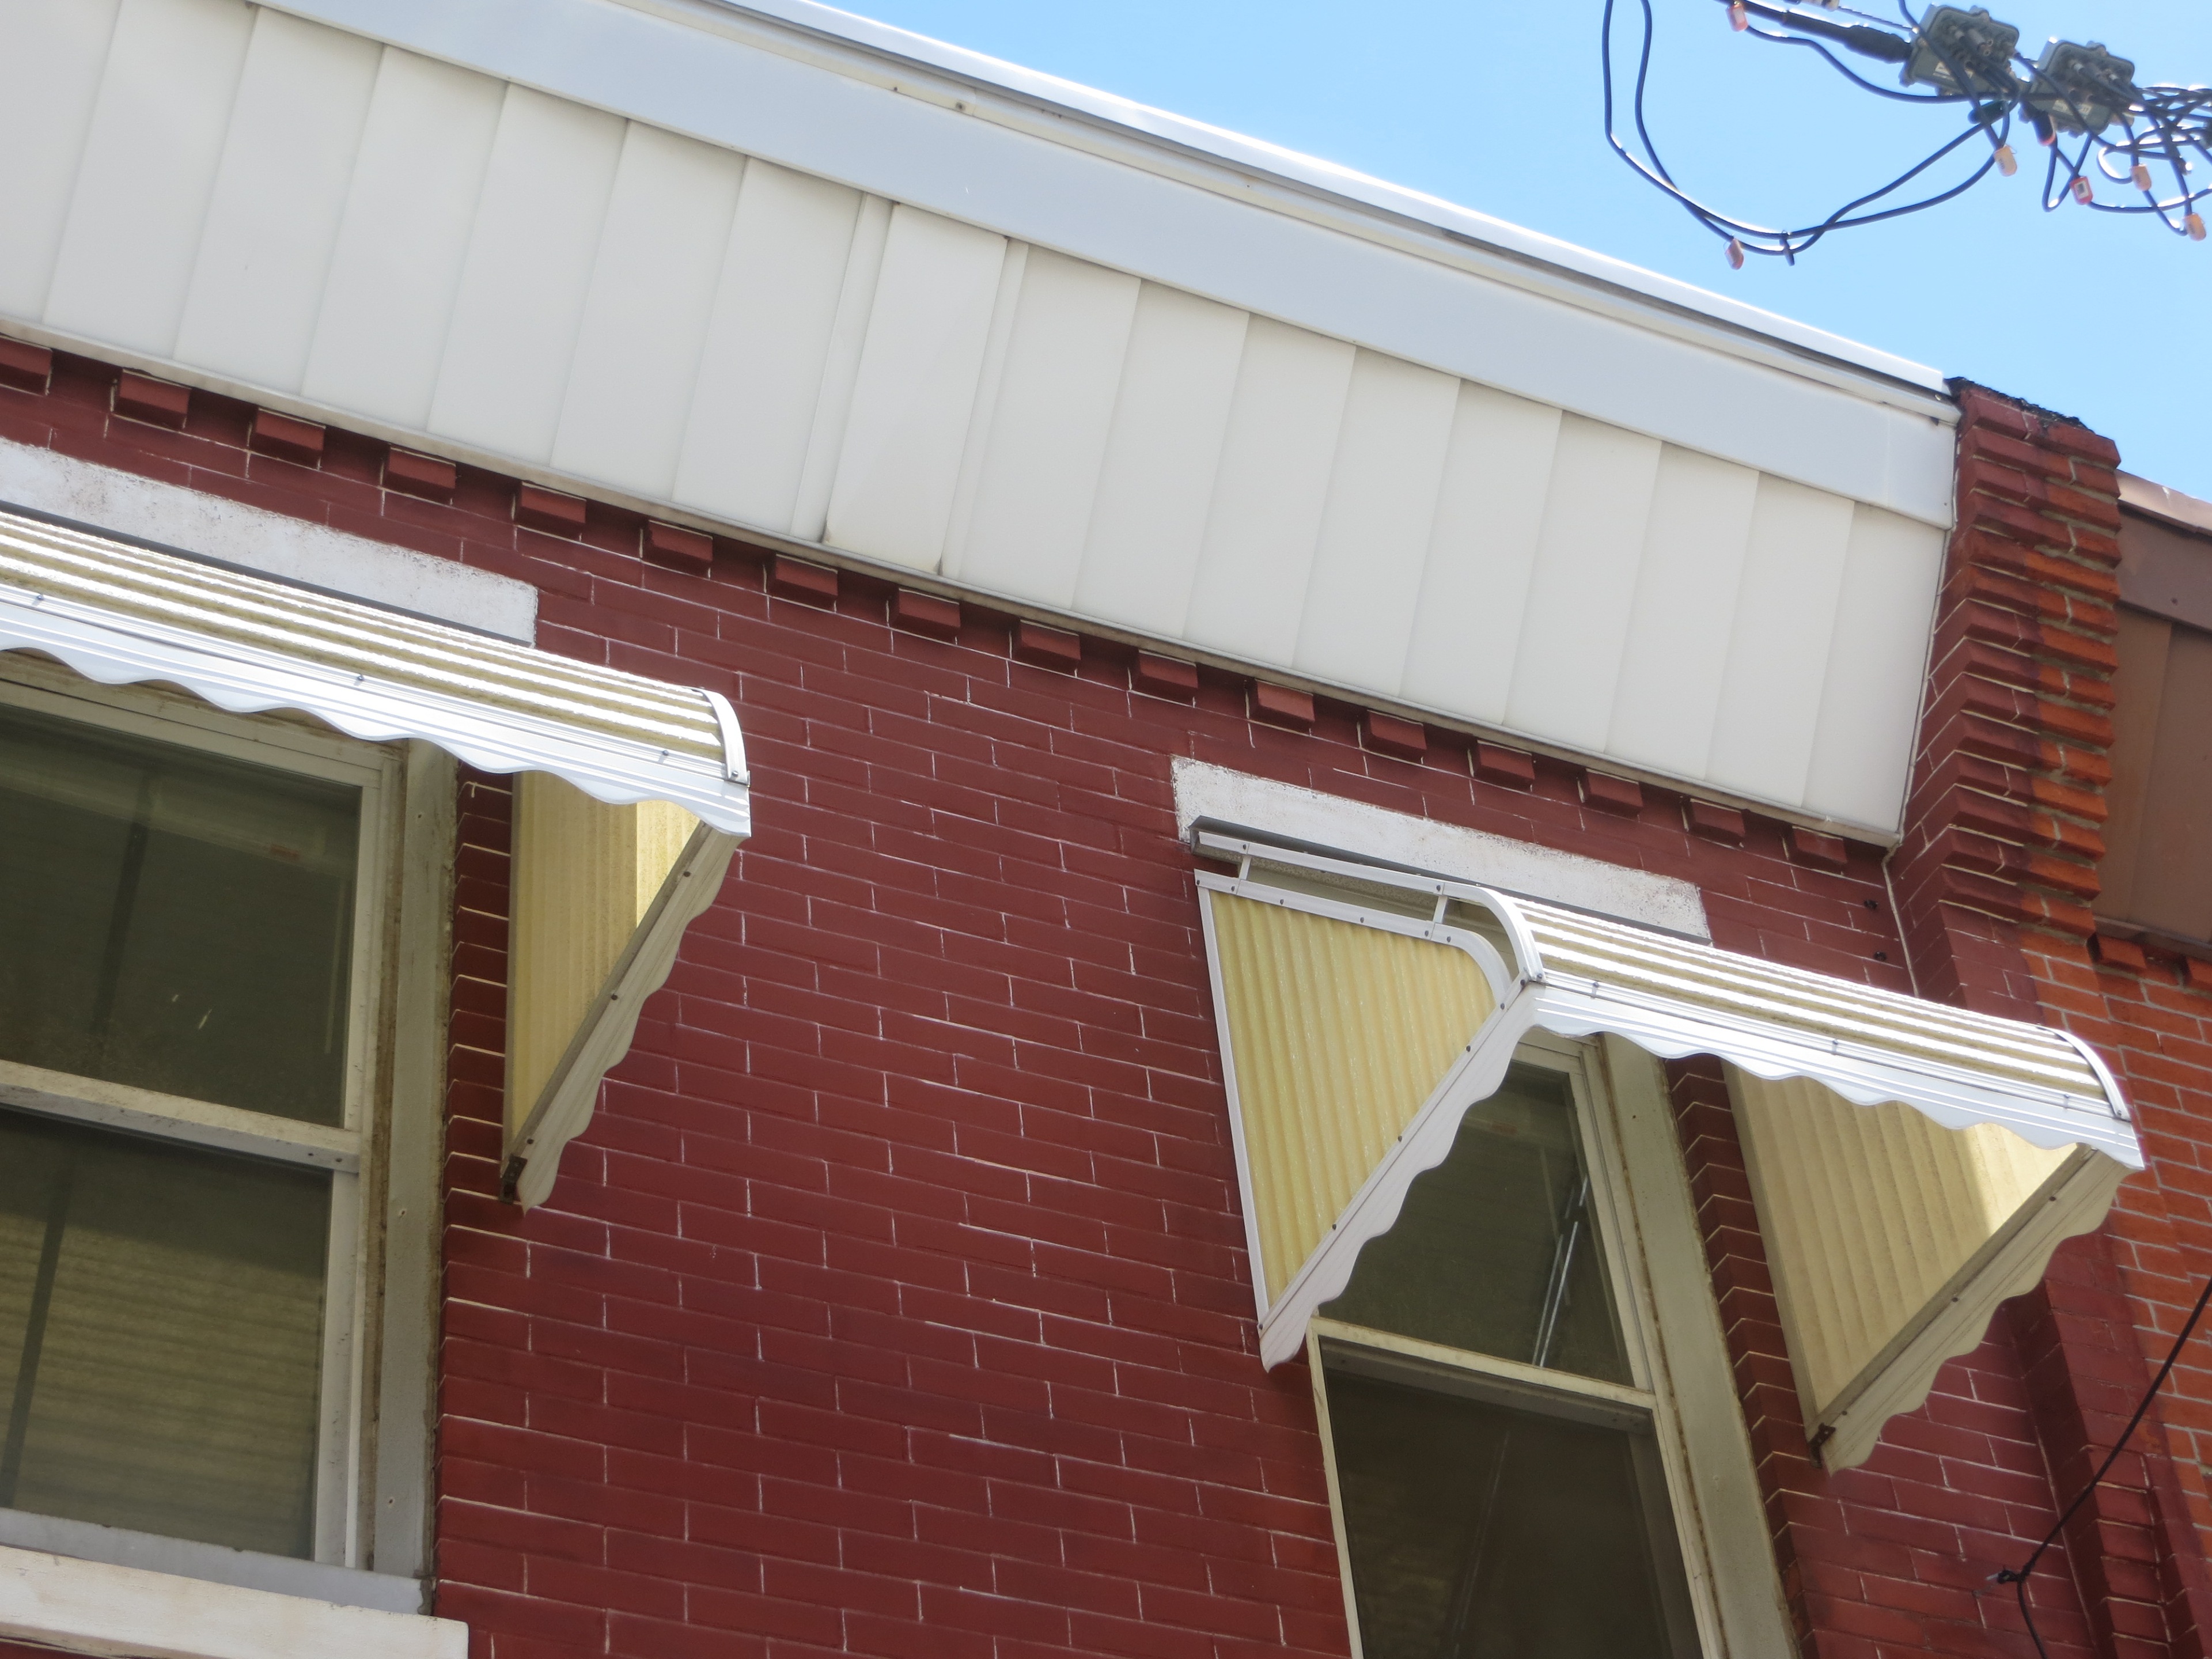
Then there are the awnings. Some people told me that they’re charming, but I hate them. They cover half my windows, block my view of the sky, leave me with a dull yellowish light. Plus they are showing their age and they obscure the charming little scallops on the marble lintels. This is one of the only architectural frills the place has. (Also note the shiny lunch truck-style capping on this house.)

So why are the awnings still up 3 years later? Look down by my front door. There’s a fair bit of water damage and they’re chalking away. I don’t care about restoring the damage, but I need to seal this area with something appropriate to stop it from getting worse.

Things aren’t rosy for the rest of the brick either. It’s been painted red, the marble is painted white, and although the original mortar joints were red, they painted white lines onto the bricks! Usually over the mortar joints but not always.

Then there are the windows. I have some of the cheapest vinyl windows you can buy here, and they’re 15 years old – near the end of their lives – and so poorly installed I had to seal the top sashes shut with caulk. I bent out the aluminum capping in 2013 to see what’s behind it.

I peeked behind the capping to see what’s there, and 3 years later it’s still bent out like this. But I don’t care. Aluminum capping is so vile I don’t think this makes it any worse. I have the original trim around the windows, but under the white aluminum capping the sills are capped with lunch truck style chrome plated capping.

The basement windows are also poorly installed and missing their original security bars. (These are next door.)

The front door is relatively new. I wish it were old. It’s in a style that comes pretty close to Victorian but misses the mark slightly. But it’s solid mahogany so I don’t plan on replacing it. The glass, however, is not authentic and I’d like to replace it with something plainer before refinishing the door. And the latch that was on the door wore out. This interior door knob gets the job done but it’s not long for this world.

Next up, we’ll get into the nitty gritty with historic masonry.
No Responses
There’s a lot to think about here. The awnings were probably installed int he ’40s or ’50s to protect the carpets, drapes and furniture from fading/rotting in the sunlight. Modern UV blocking windows prevent that fading, so the awnings are now superfluous, I think. Nothing charming about them, in my way of thinking. But until you have UV blocking replacement windows, I’d hold off on those.
Also, you don’t know what’s behind that cornice cover. It would be good to get down to the basic decor of the facade, as long as you realize you may be opening a can of worms. But since when has opening the worm can been a problem for you, Chad? 🙂
A worthy phase 2, which I will follow with great interest. My own little 1927 Craftsman bungalow with aluminum siding has a facade restoration in its future. I know I will learn from your experience!
Great work with your Facade, I know you made alot of hardwork in it. Good luck on moving forward for more restorations.
The outside is fraught with cover-ups. Looks like you’ve eked them all out and will tackle each in turn. Watching to see how it goes. Jo @ Let’s Face the Music
[…] the original wood trim, install wood windows (new or old). You can read more about this process here, here, here, […]