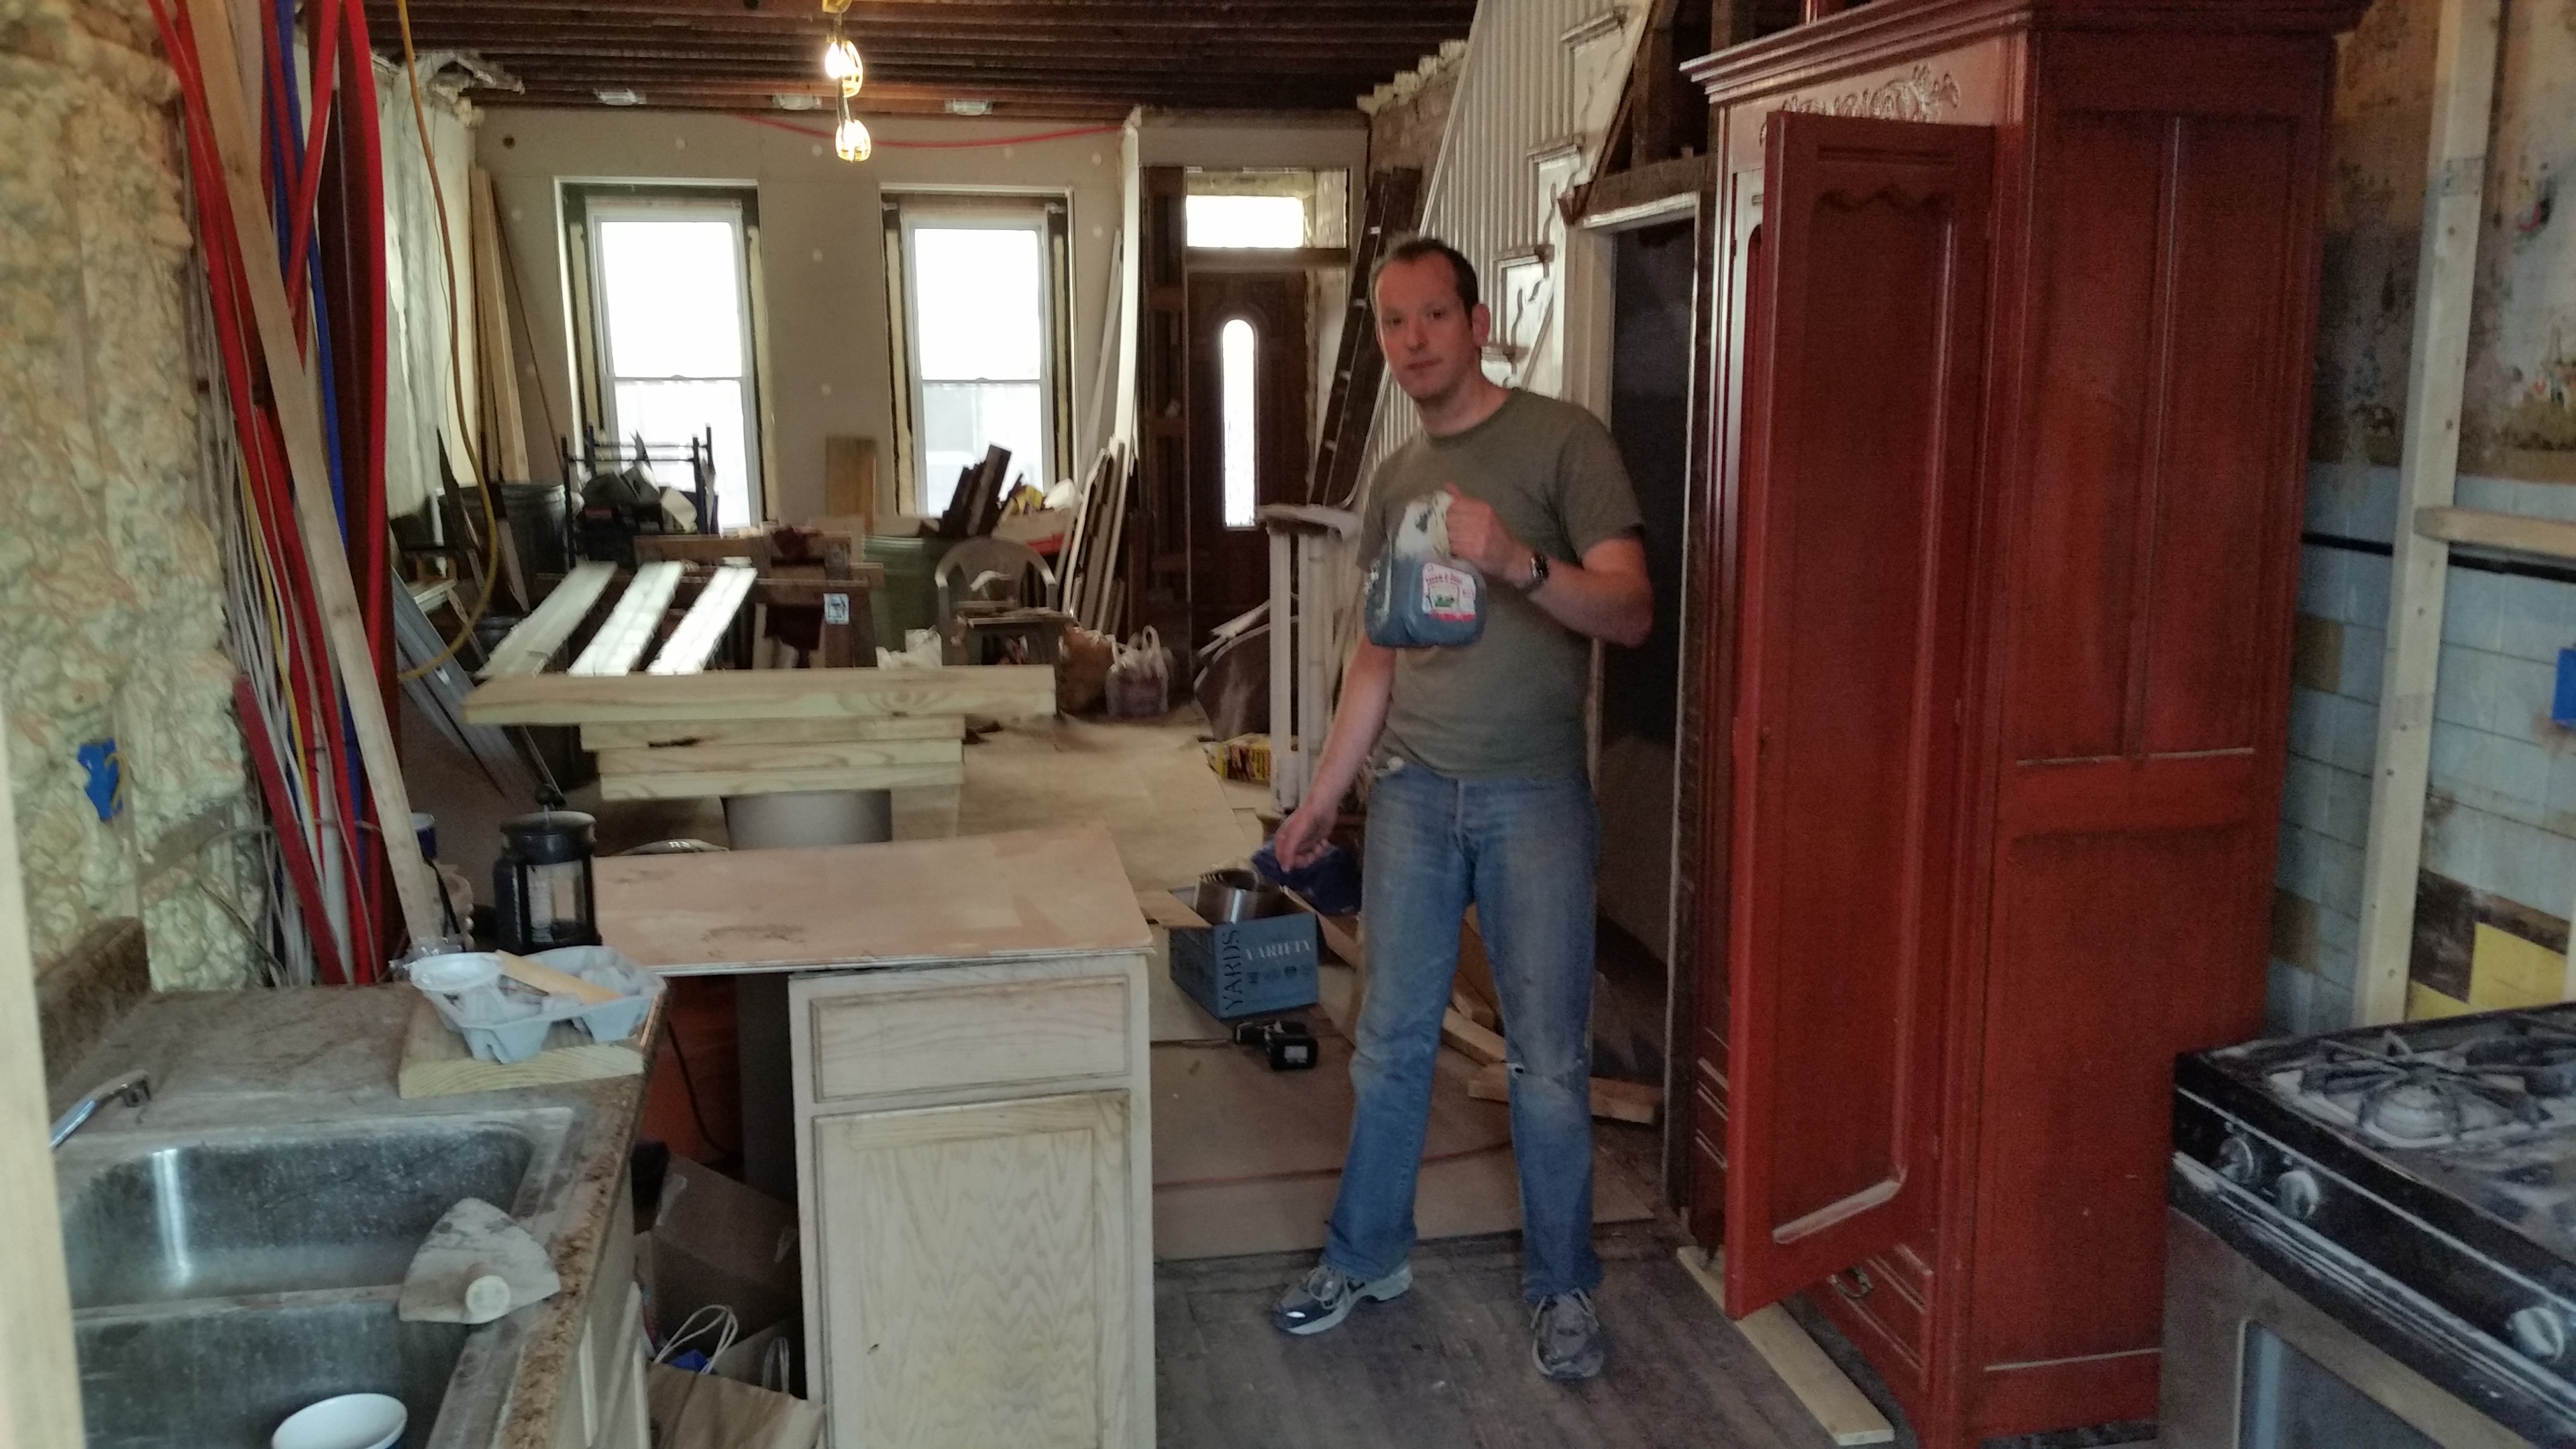
The kitchen looked clean and usable, but surprise surprise, I salvaged nothing from it. The cabinets were glued to the walls and many didn’t survive being taken down.

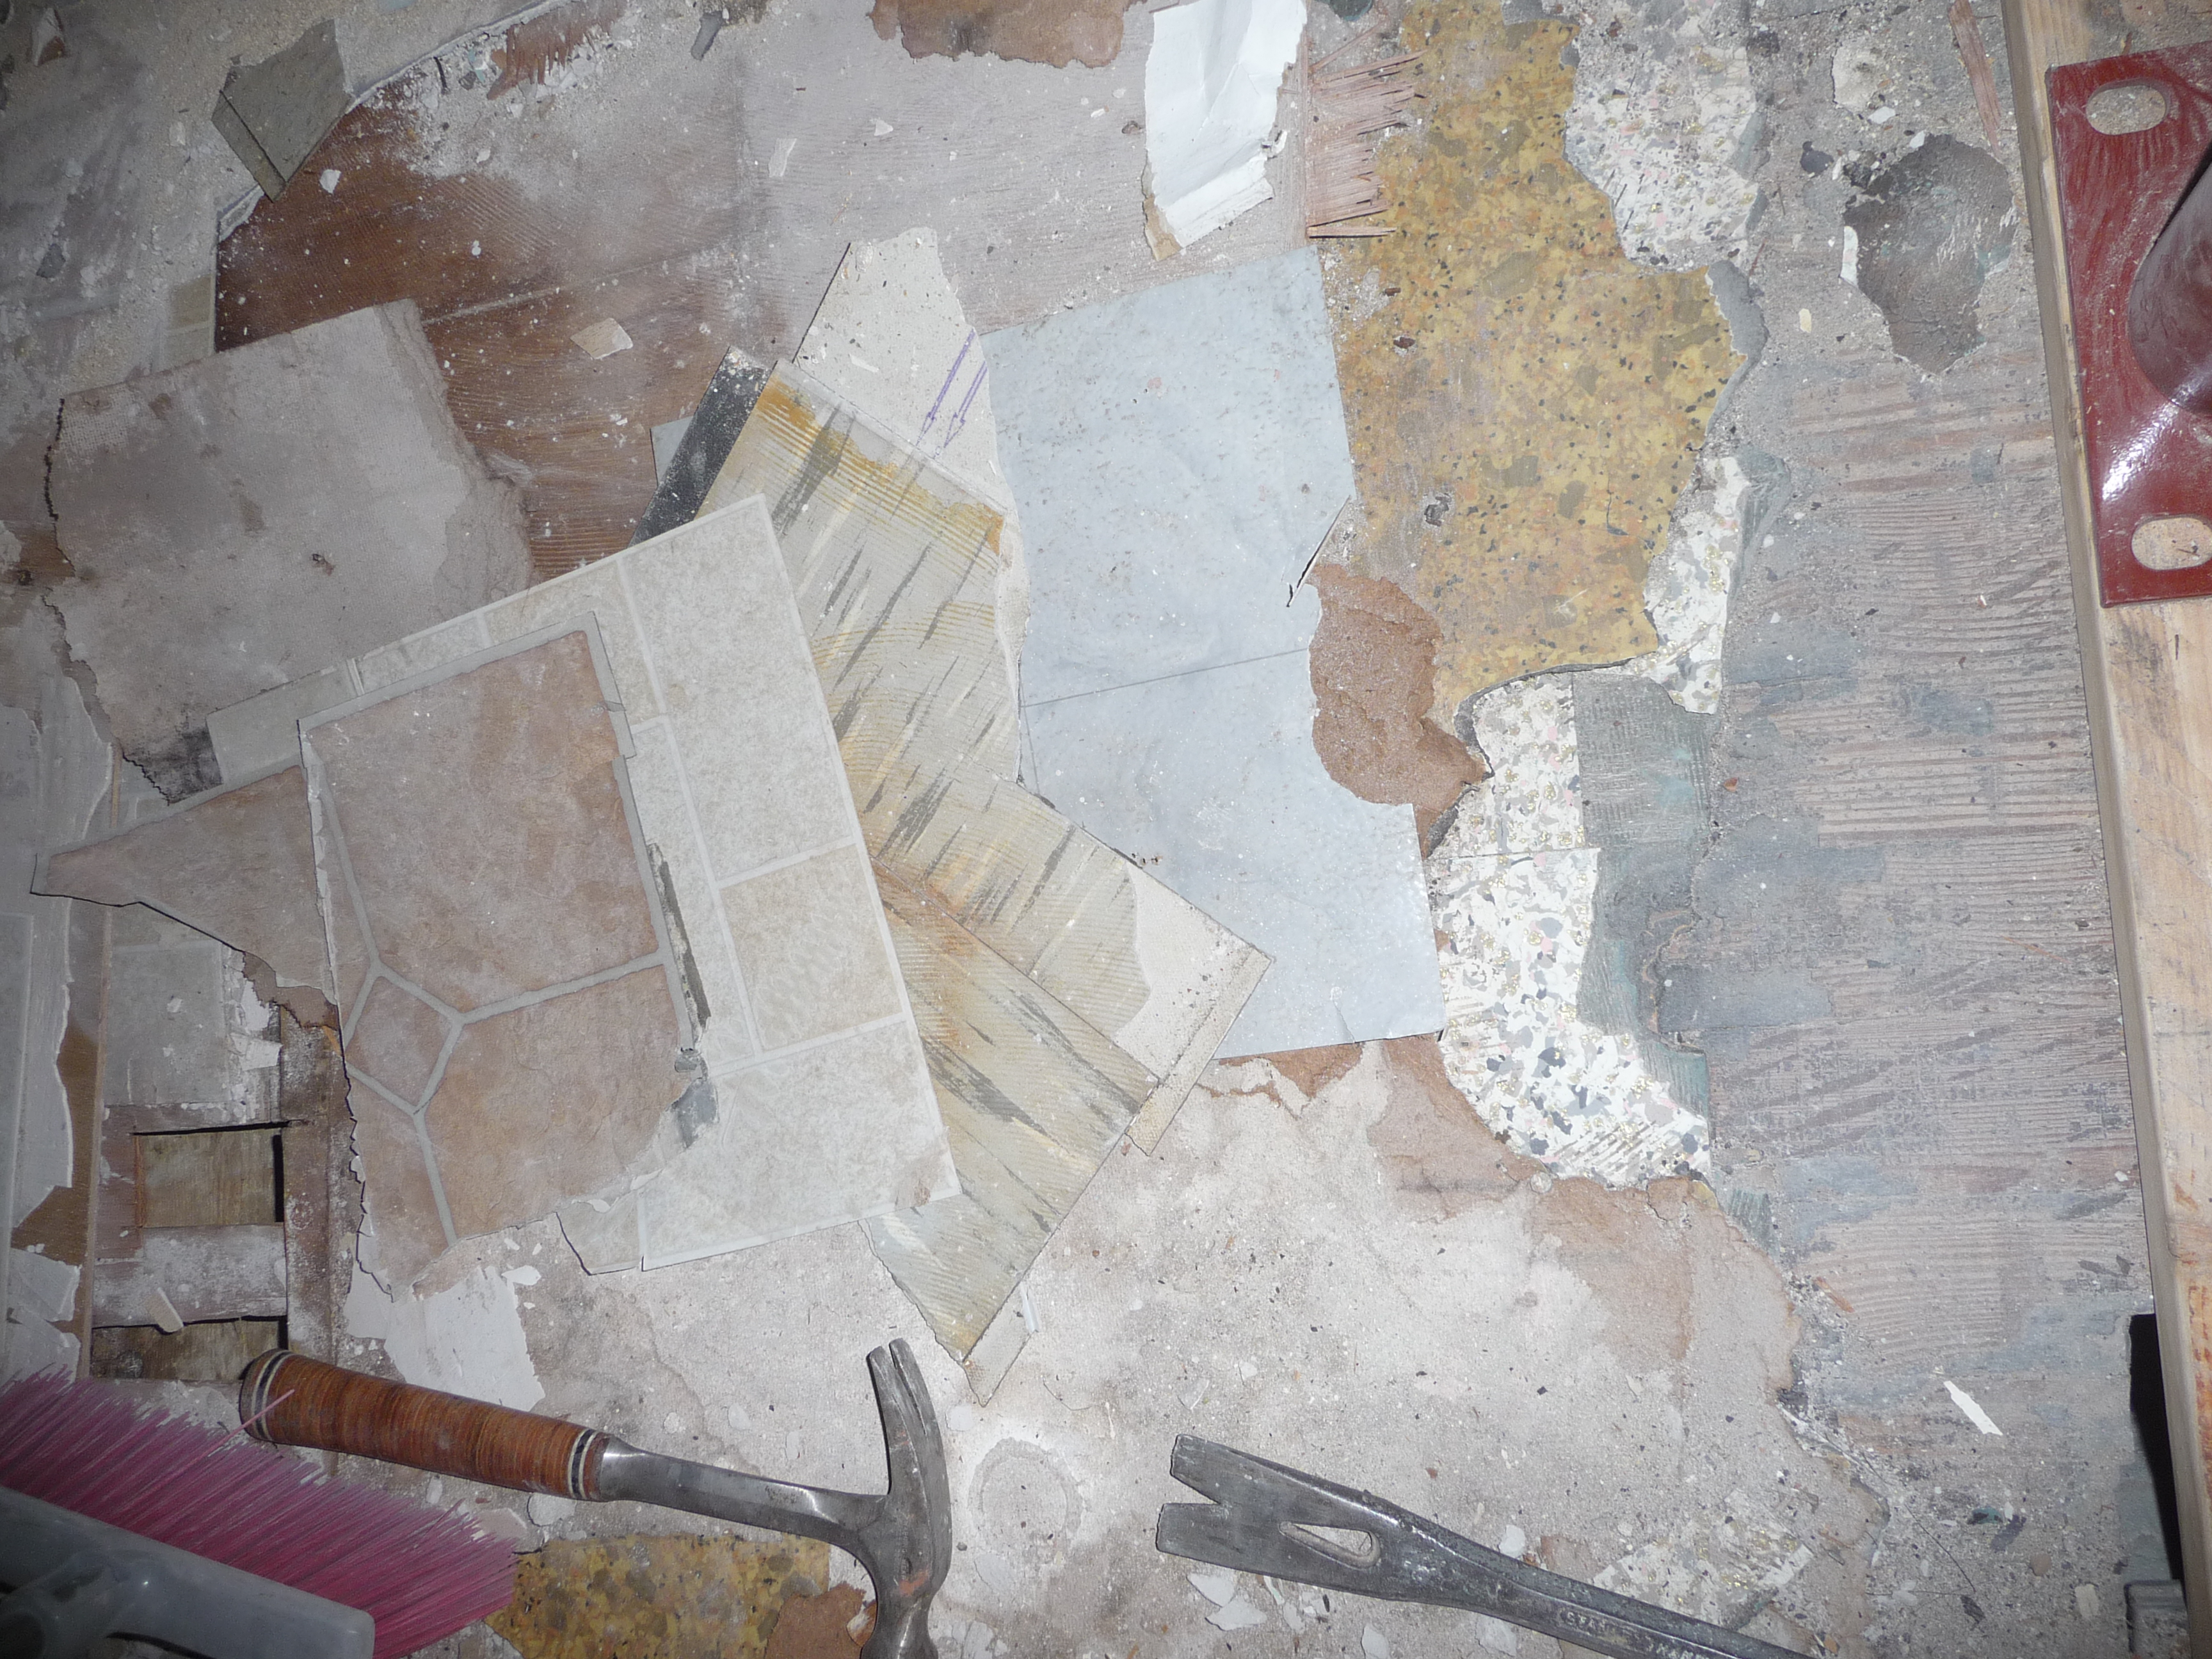
There were 7 vinyl floors installed in this room! 7!
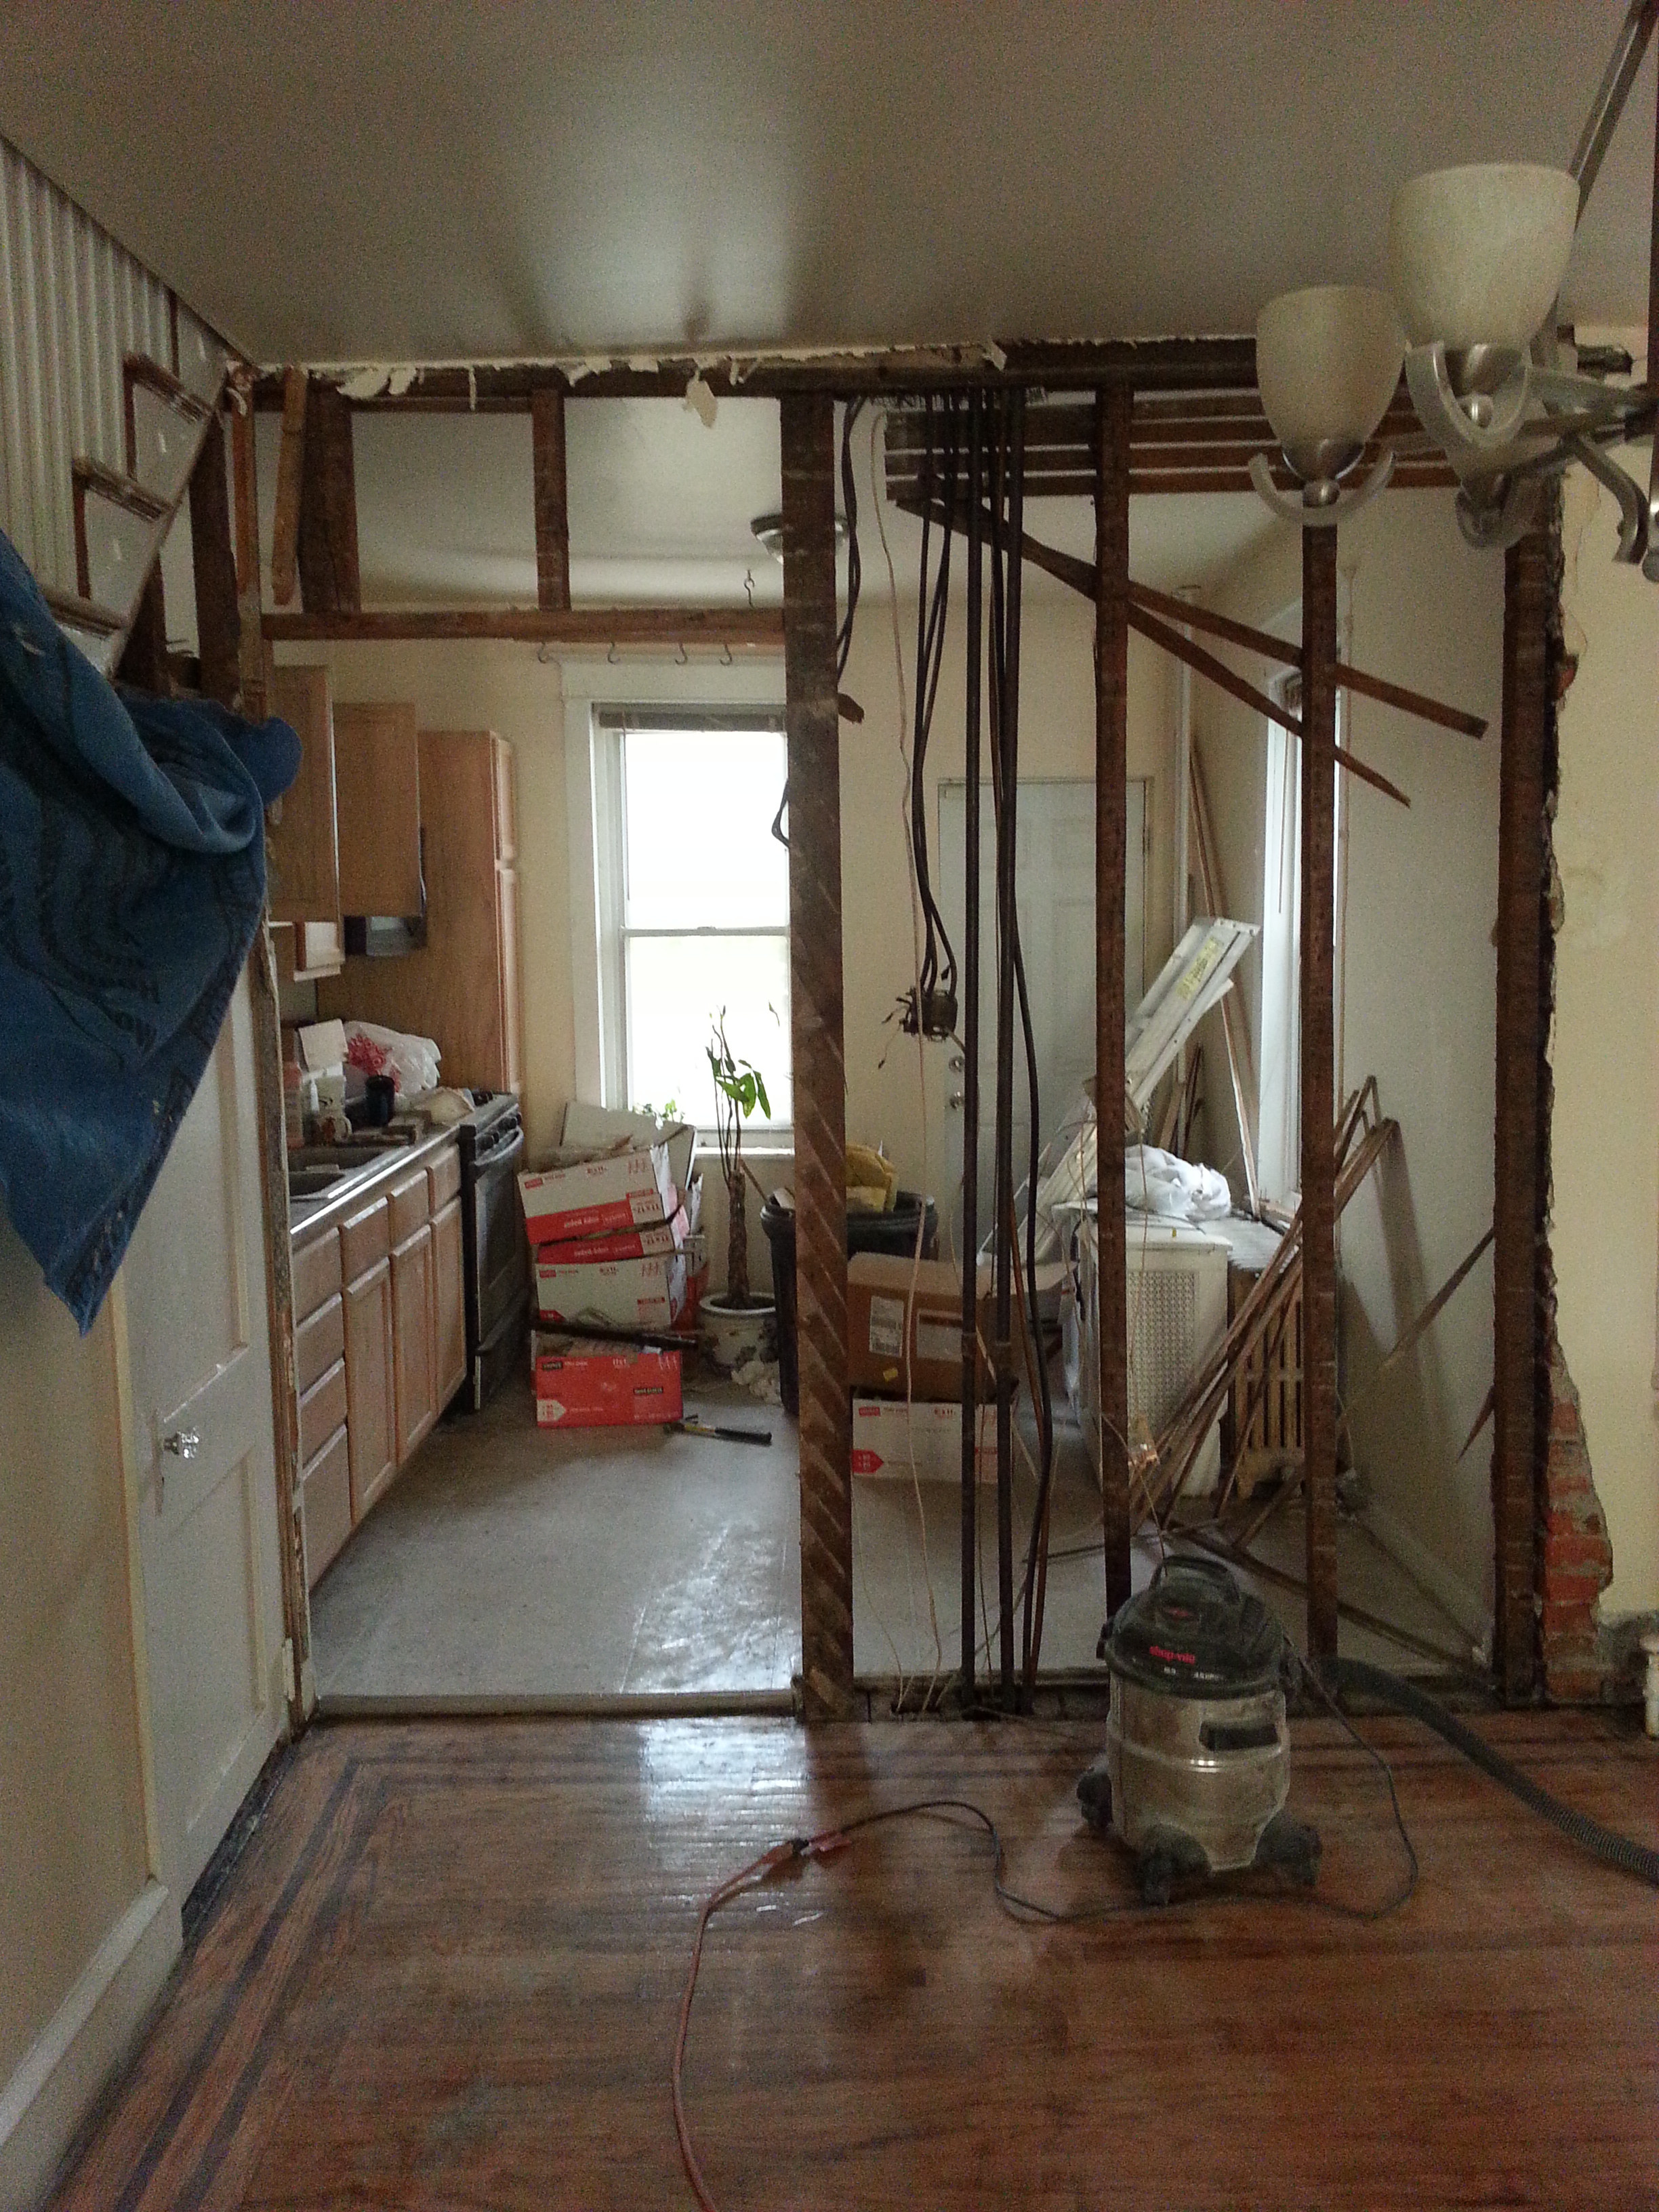
Once I was at this point, the single wall layout with no workspace wasn’t going to cut it. (The fridge had been in the corner right behind the shop vac, and even if I had liked it there, I put a pipe chase in that corner.) Also note the original back door and window layout.
So with the Irishman’s help, blew out the back wall for a patio door. We also made the side window smaller so cabinets would fit below it. And to think I was planning on doing this messy job later while living here.
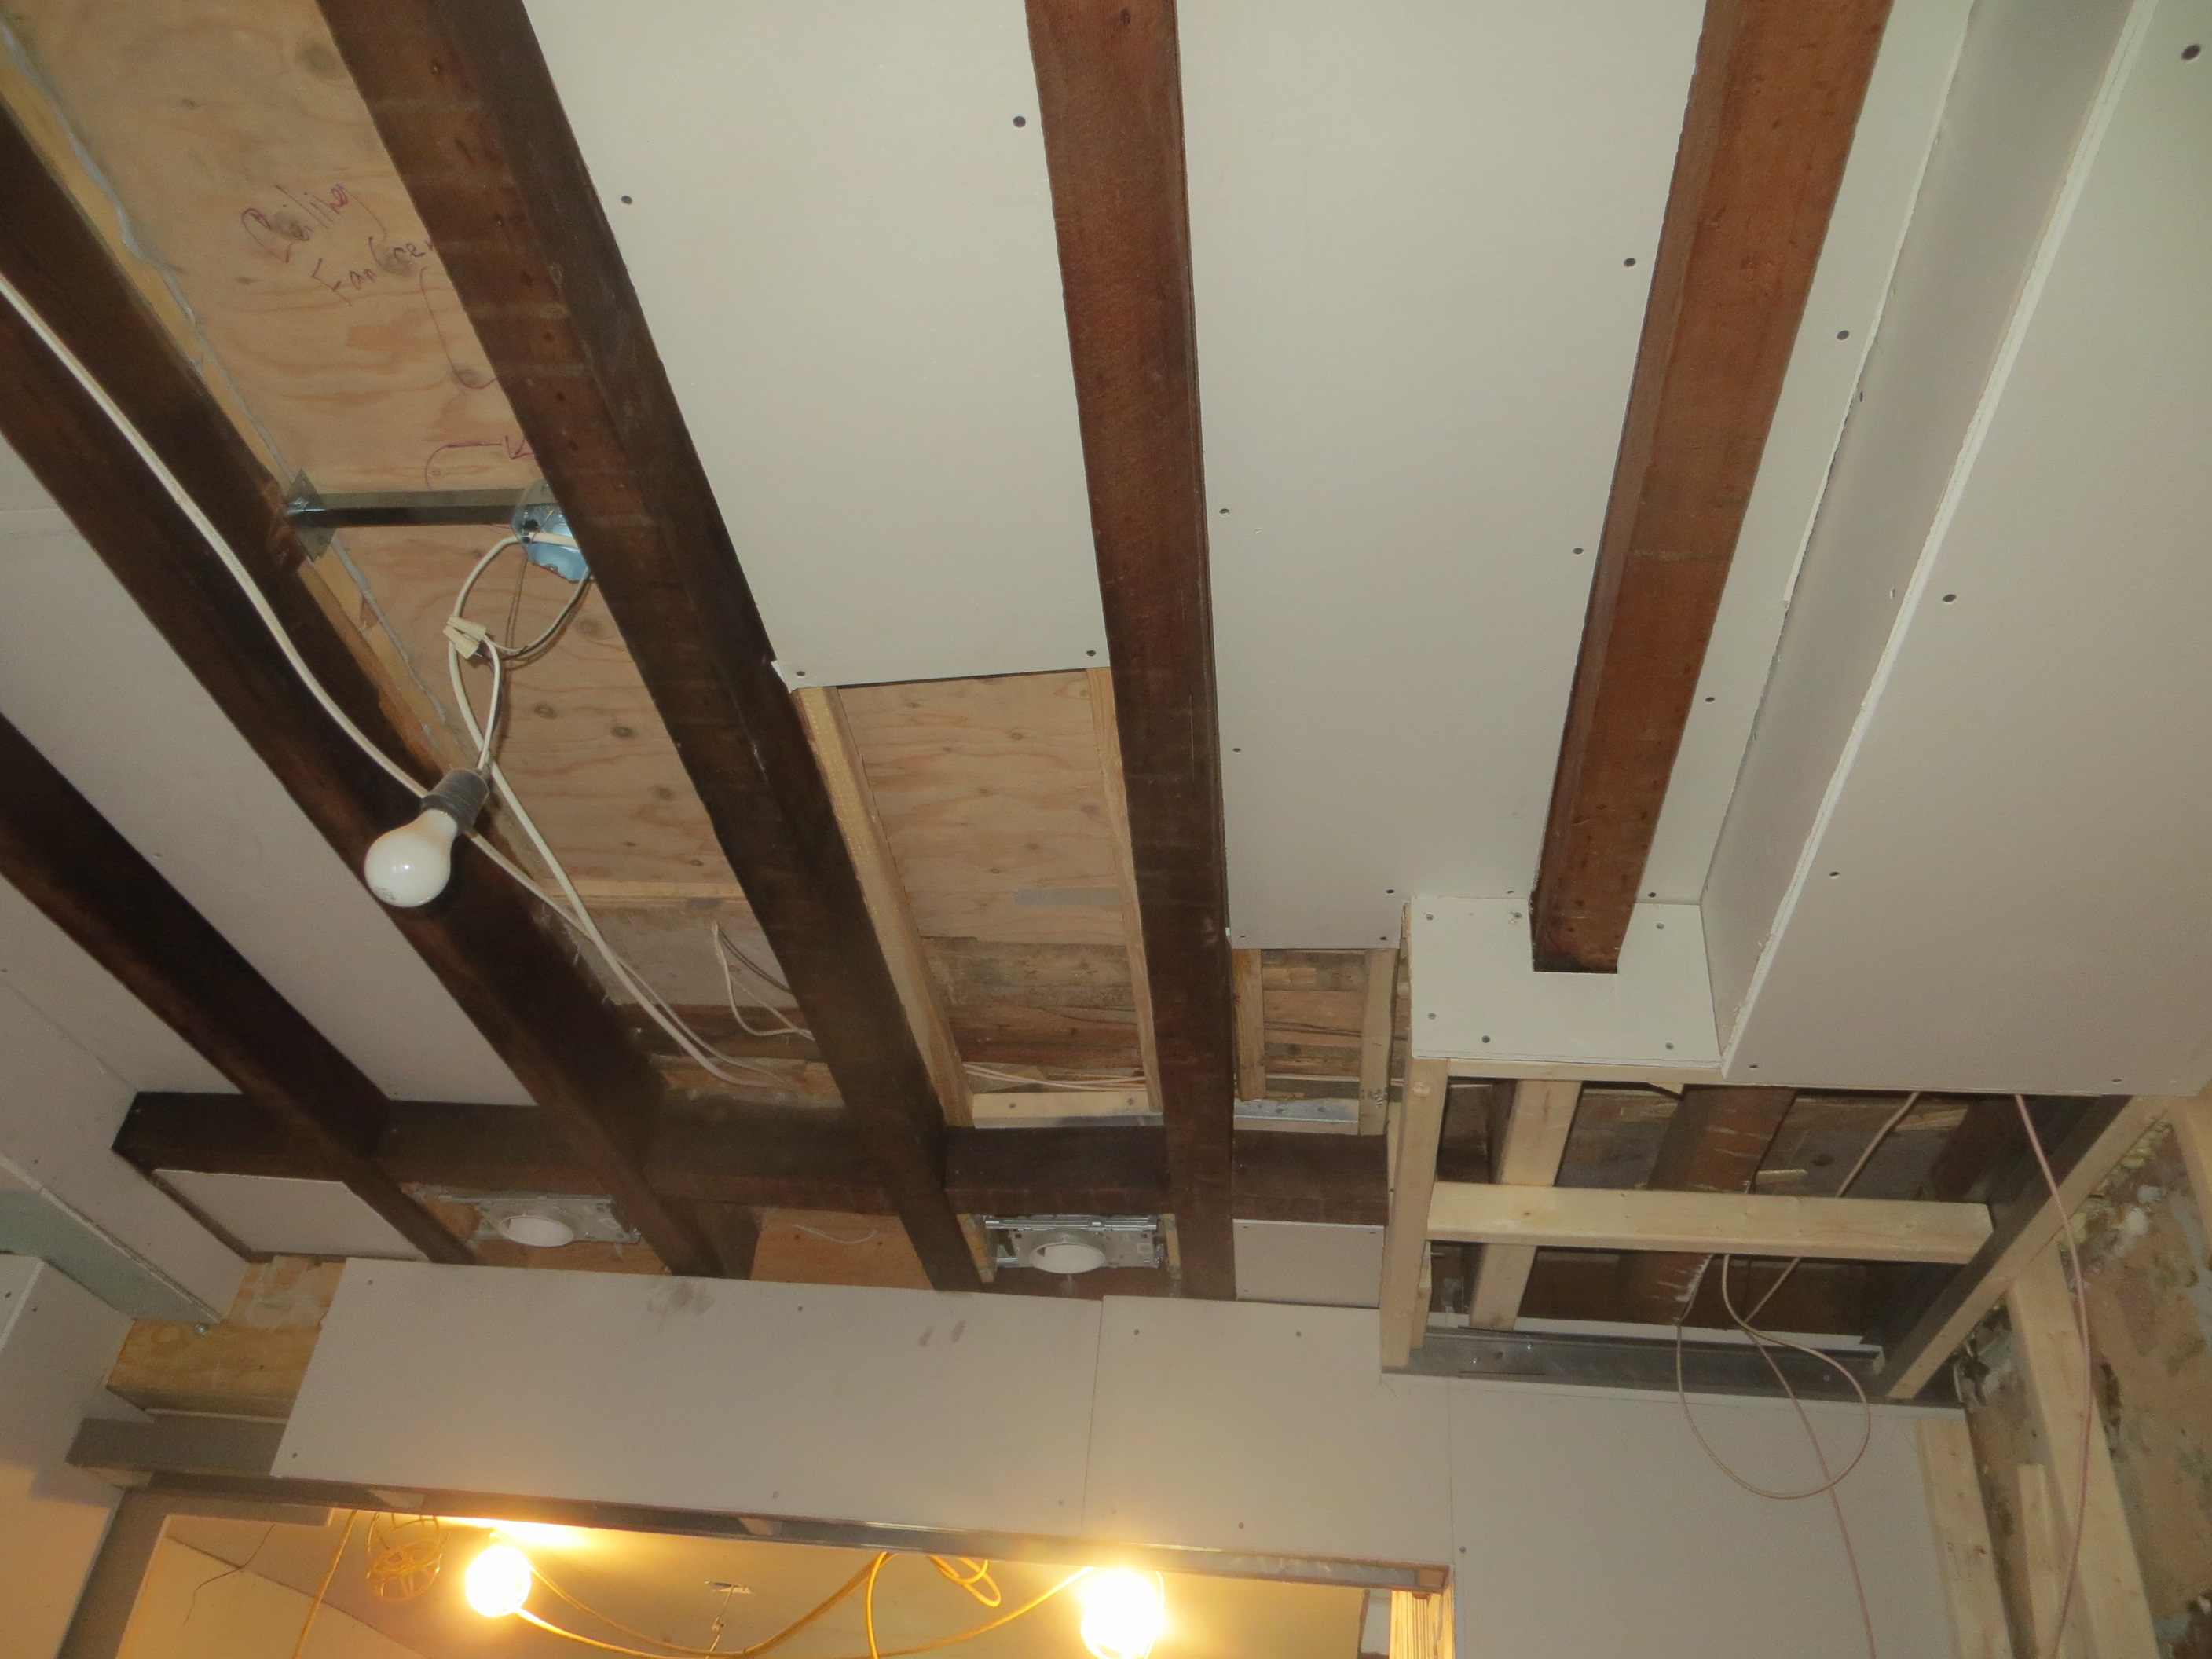
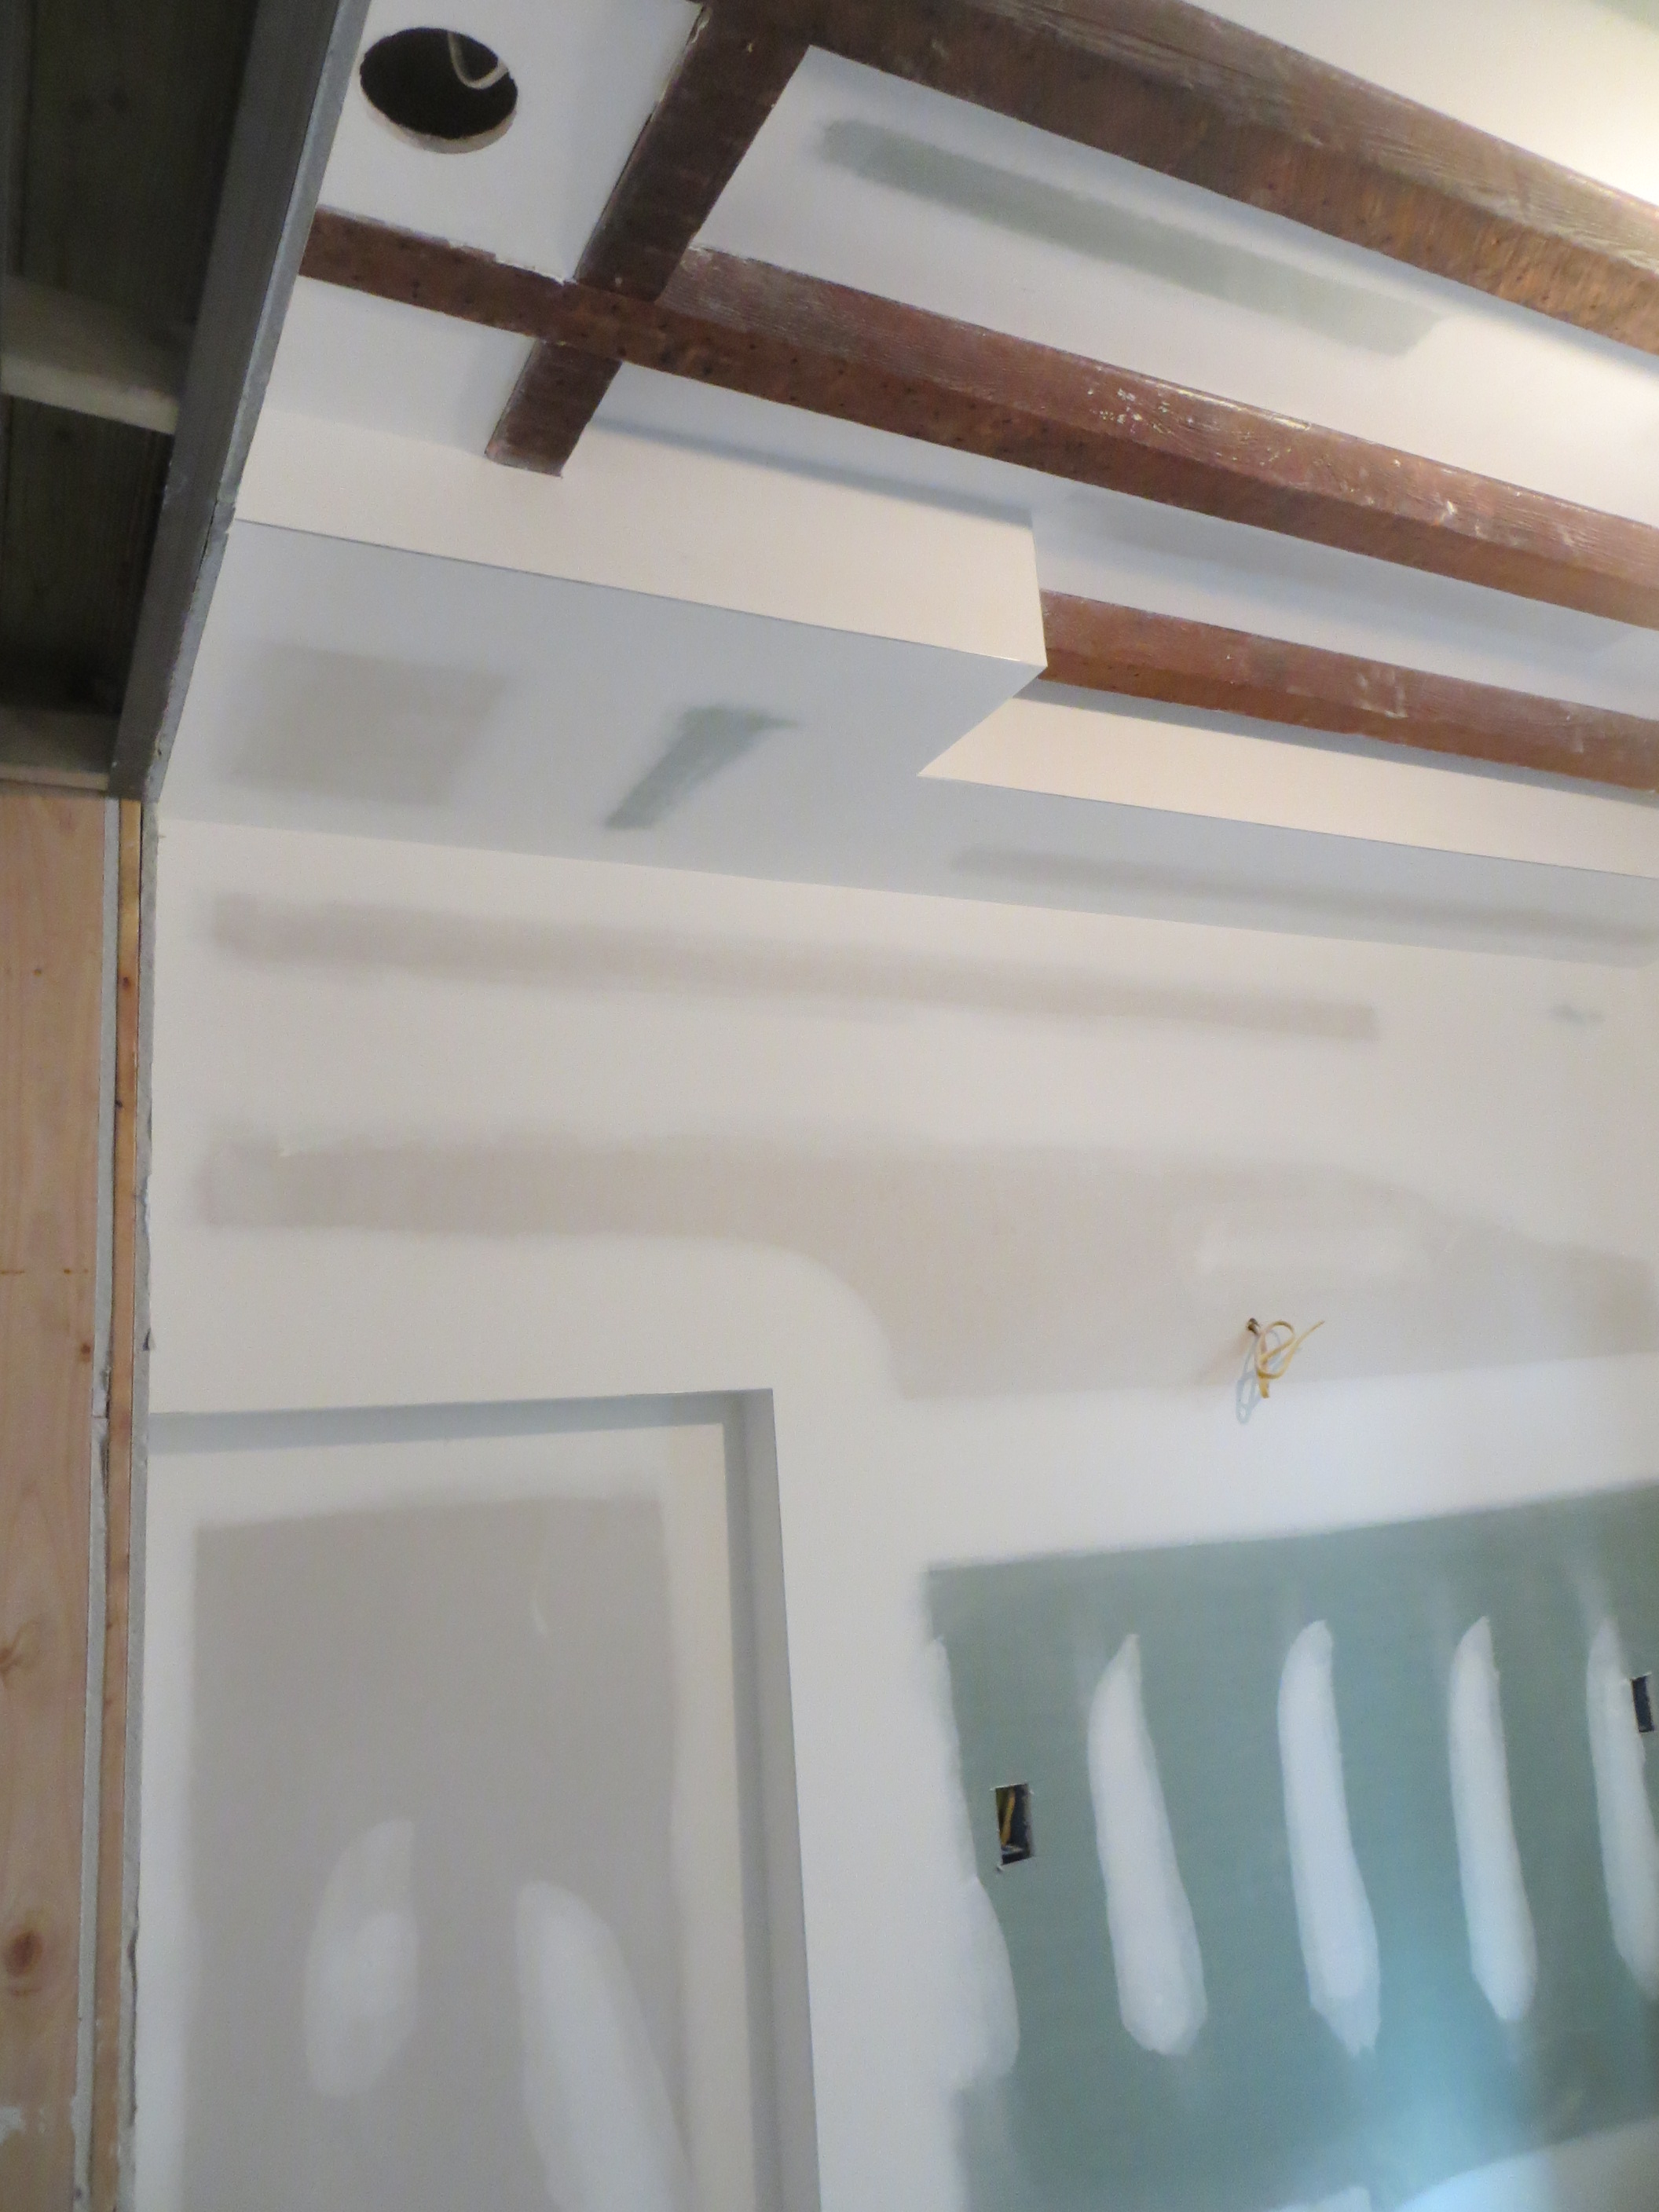
Then putting it back together, I wanted old ceiling joists exposed, so all the drywall scraps went up in between them. And because the ceiling has a crazy slant and kitchen cabinets don’t and I didn’t want dust collector spots above them, I built drywall soffits to bring the crooked and square bits together. This took some work but it’s clean and unobtrusive.
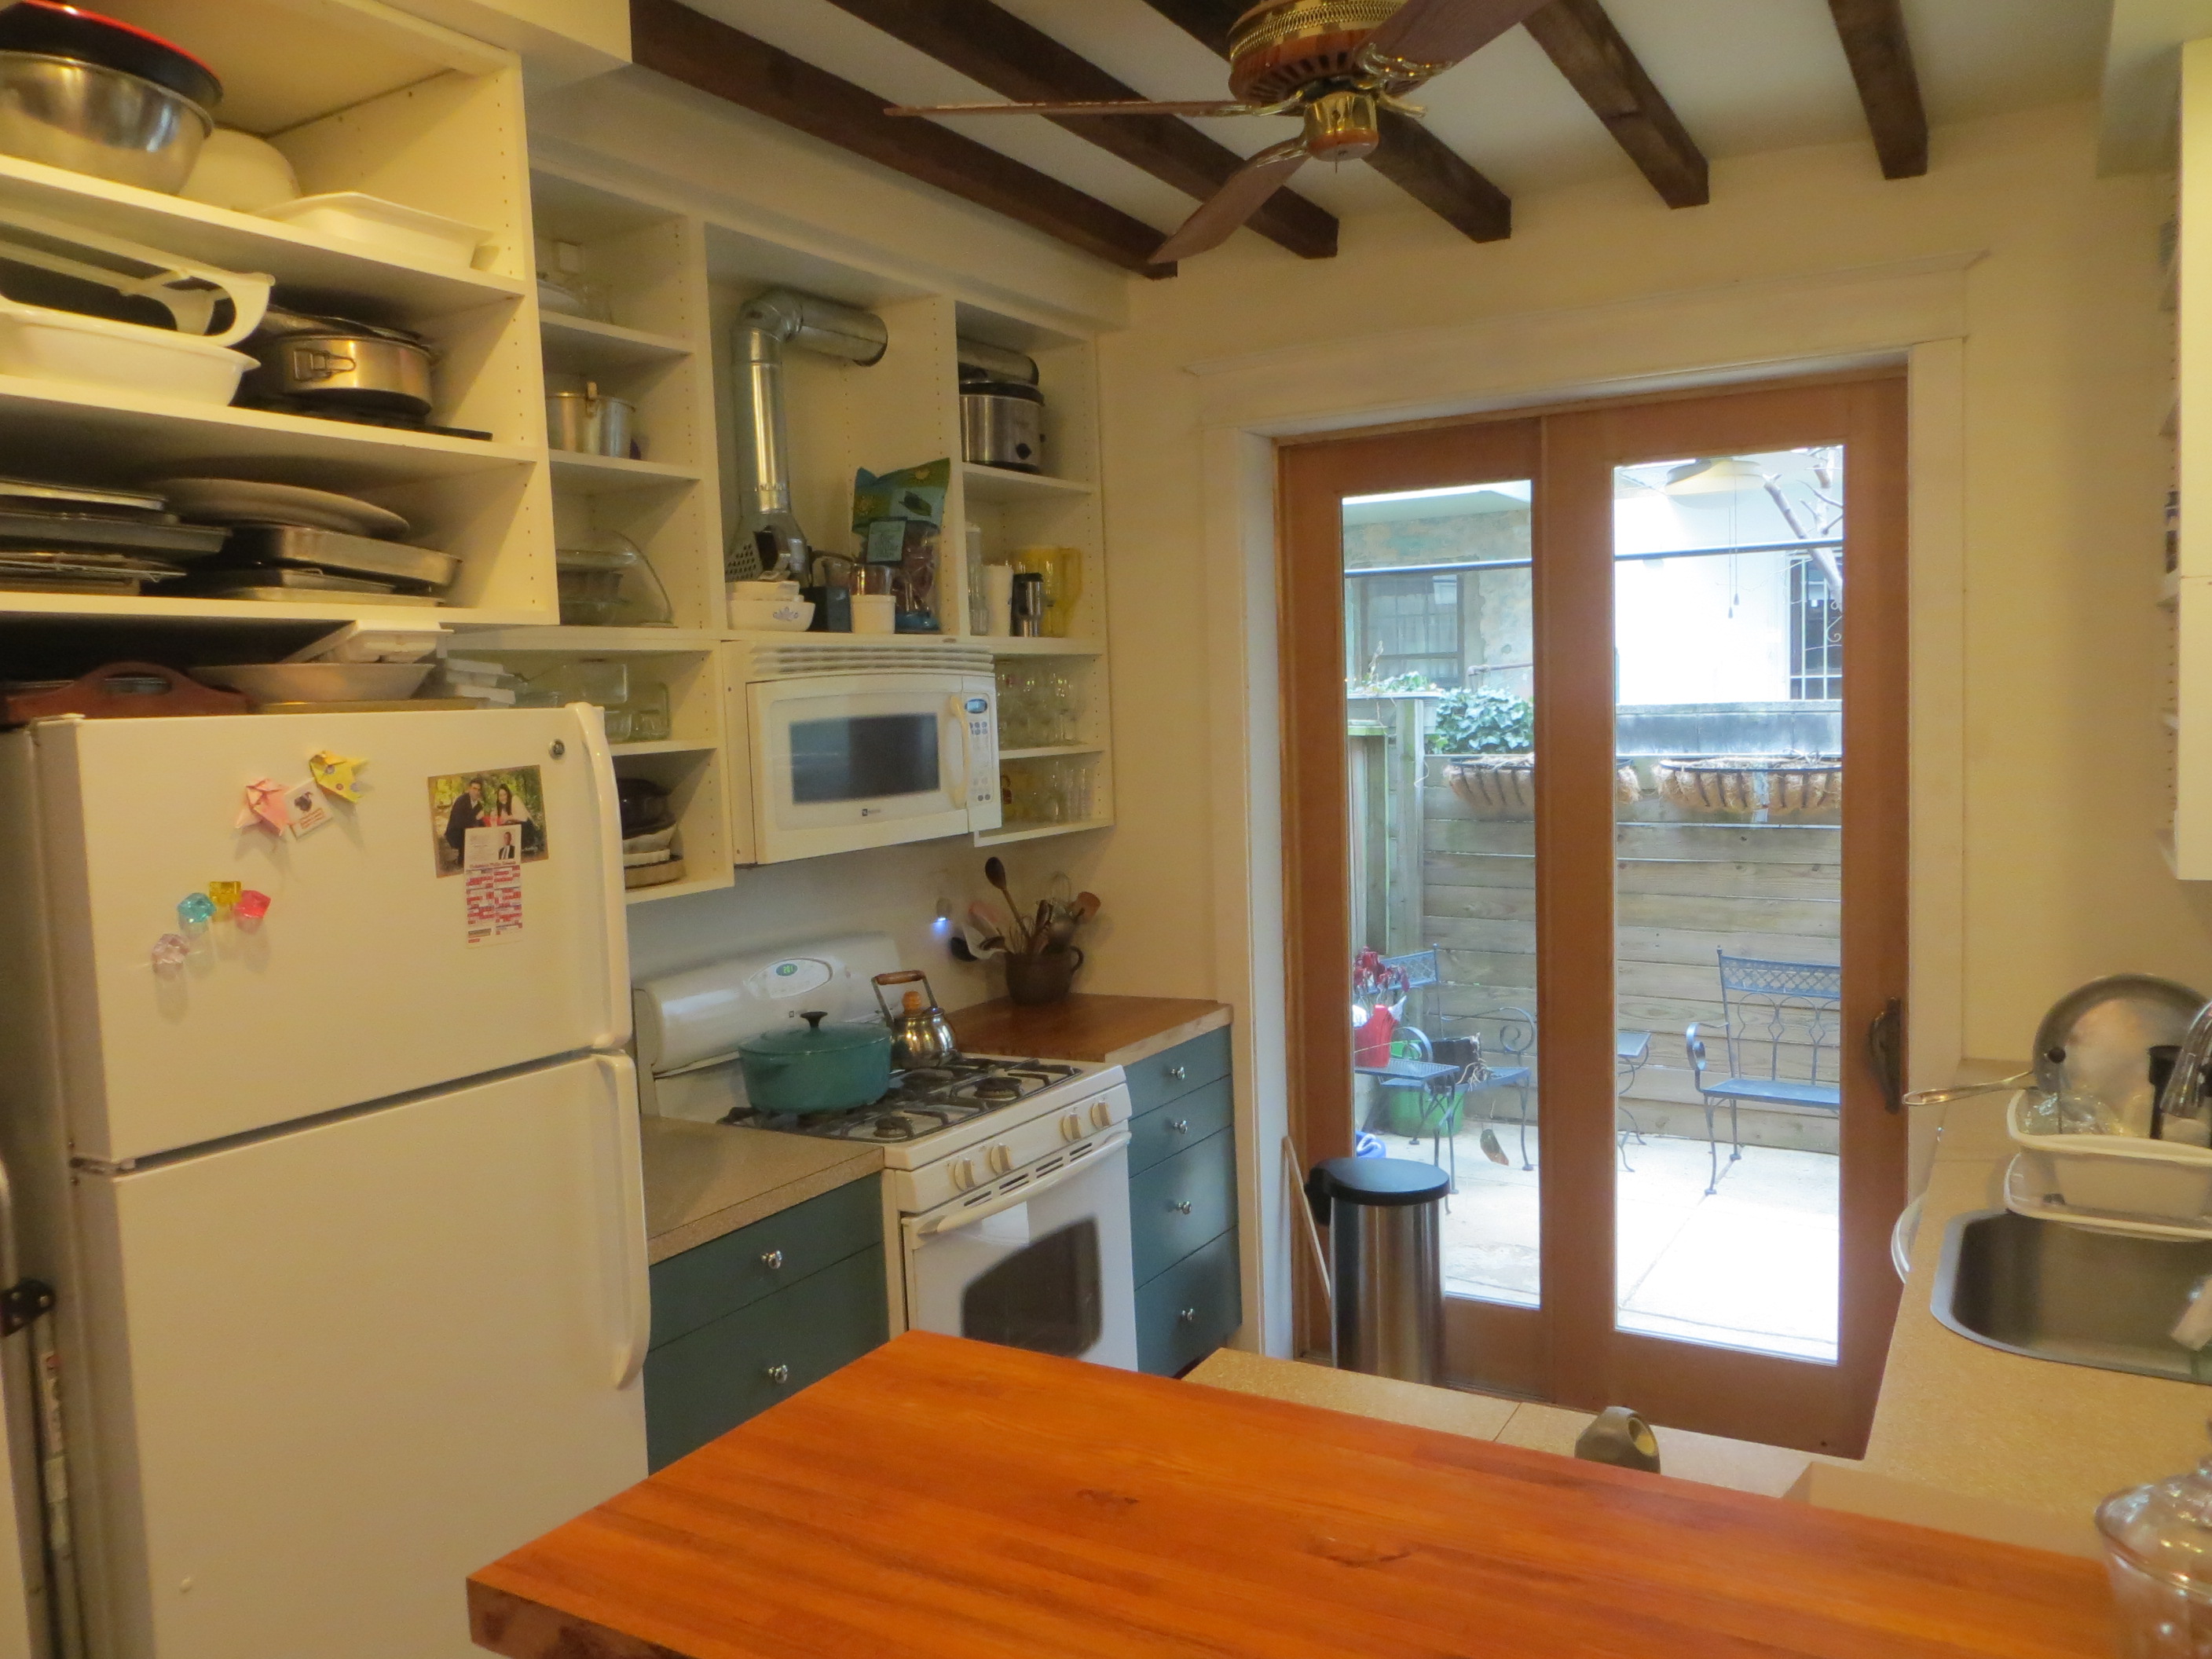
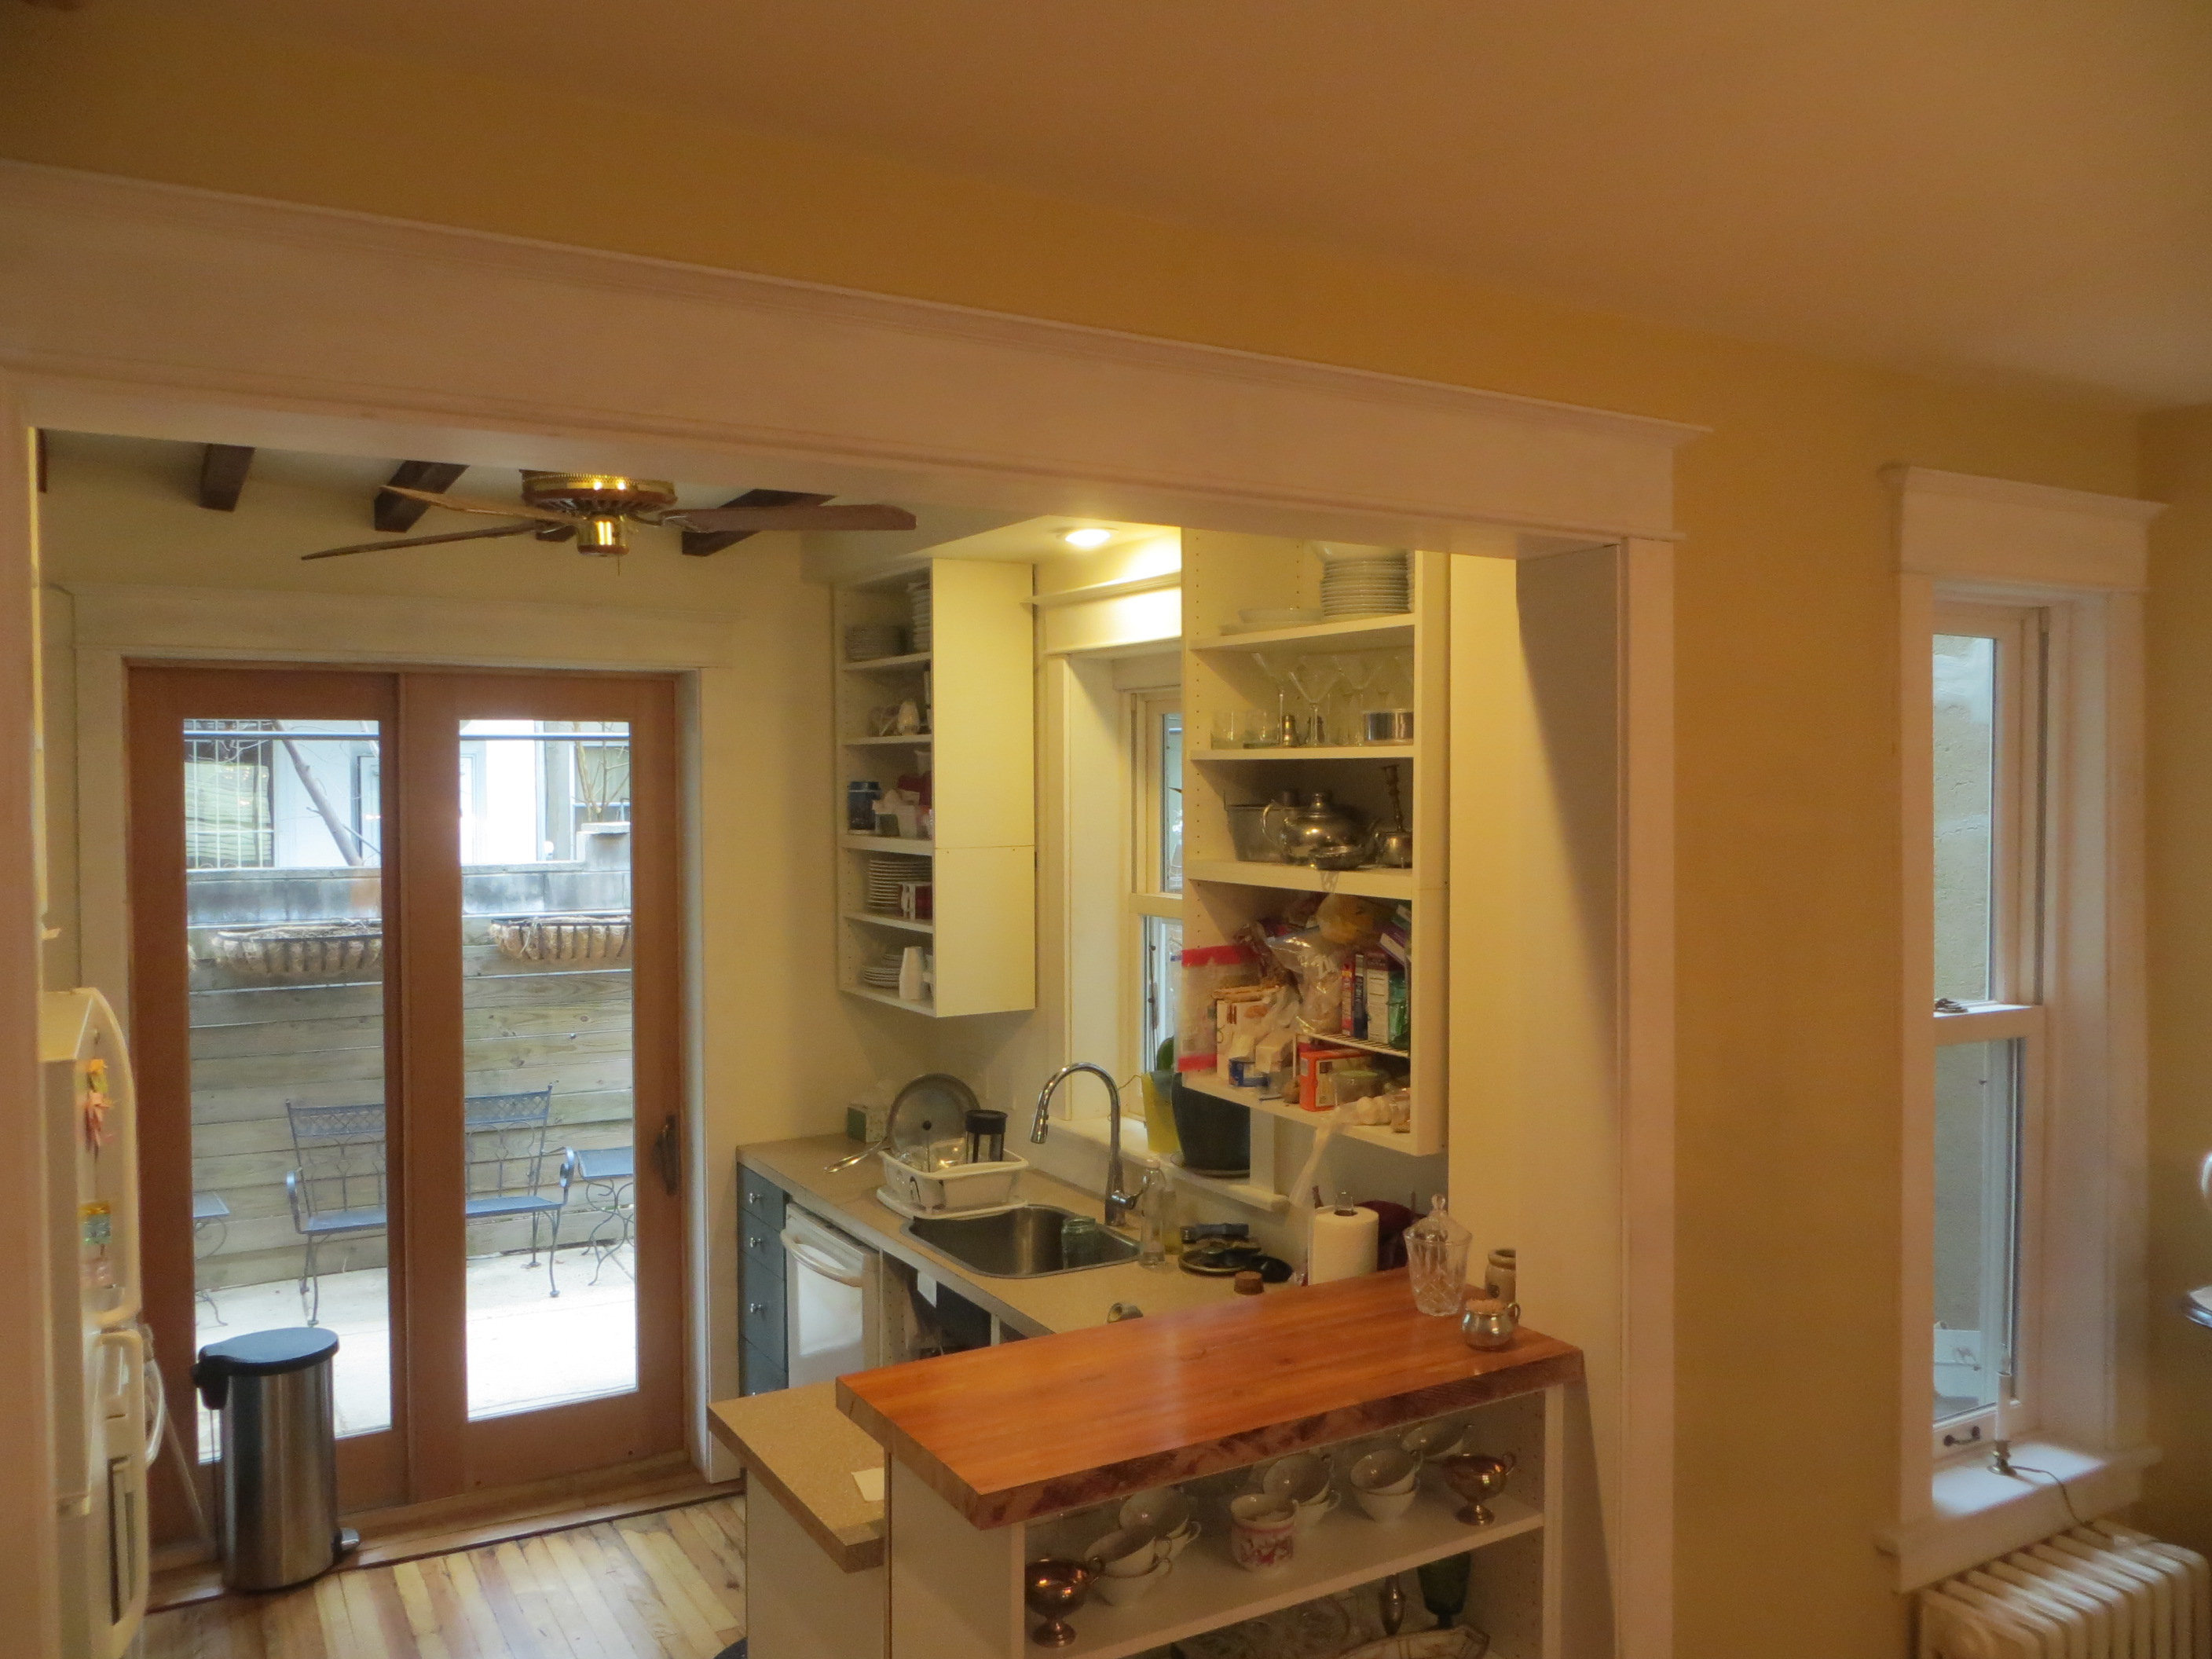
Now let’s talk about layout. I believe that the kitchen should be above all else a functional work room. And since mine is small that would be its only function. I relocated every window and door in the room to make room for more cabinet space, but then I had a bit of room to think of aesthetics. It was a no brainer to me that the refrigerator needed to be tucked behind the stairway, that the sink should be centered under the window, and that the cabinets flanking the stove should be the same size. What I wasn’t sure about was whether or not I wanted a peninsula facing the living room. I thought it would fit fine, but the space in front of the fridge would be narrower than ergonomic recommendations. So, I mocked it up, posed for photos pretending to use it, and decided the peninsula was totally fine.
We framed in the walls with 2×3’s so the walls would be straight and there’d be something to anchor cabinets to. But look how clever I was – I left the framing out in the space behind the fridge so the fridge can slide a few inches back and look cabinet depth.
So I finished off the room with IKEA cabinets, some of which are cut down to custom sizes, homemade plywood drawer fronts, secondhand laminate countertops hacked up crudely to fit the space, secondhand white appliances, and no doors, toe kicks, or cover panels. It’s not much but it functions. Oh yeah, and the pine floors, which I’m really happy with, and Baldwin chrome cabinet knobs. Because, priorities. Hardware matters. Also I don’t think you’ve seen those knobs yet.
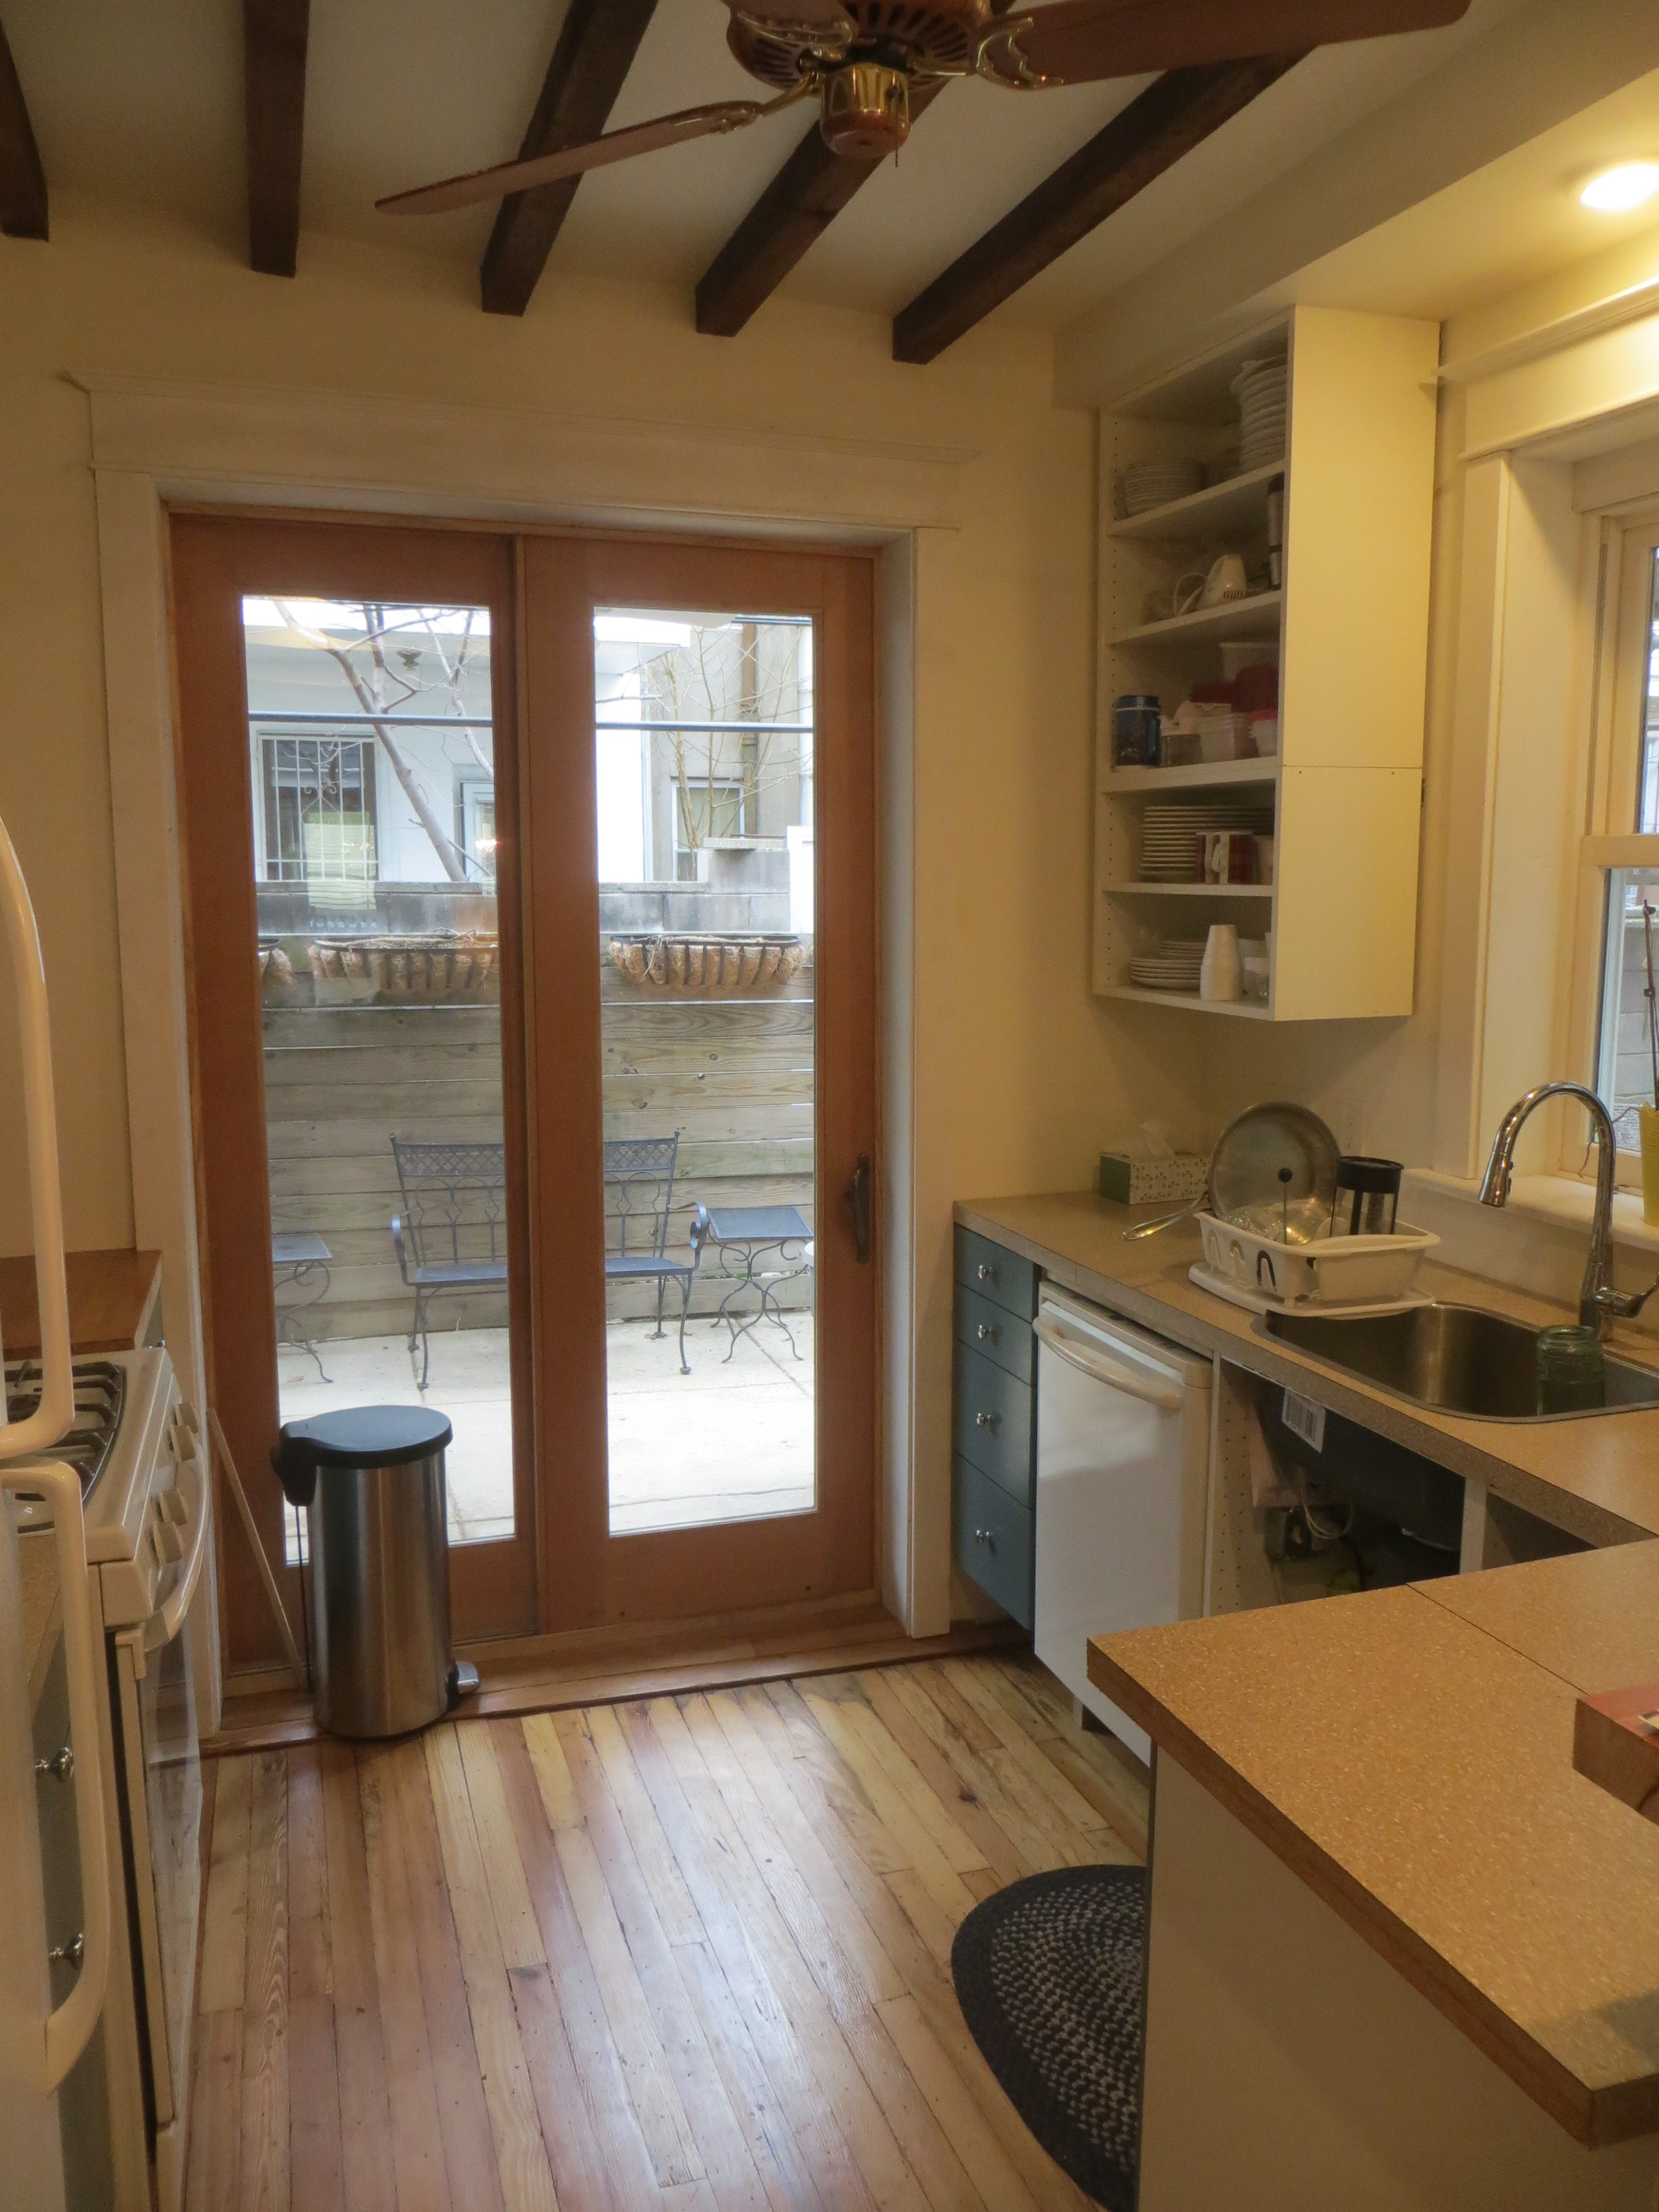
The walls and ceiling are the same off white in here to play down how crazy all these angles are. Also note the ceiling fan with one blade broken off. I plan to stain the patio door darker like the doors upstairs, which will make it look more like the beams and less like the floor.
And remember what I said about being a pain about making all the window and door heads even? That carries into this room. The window to the right is 93 inches from the floor, so the kitchen floor’s slope allowed me to line up a 96 inch patio door, and then I had the kitchen window cheated up with a piece of trim.
Anyways, the plywood doors are better than I expected and I’m getting tired of grease and dust on my stuff (and having my un-styled shelves in full view) so get ready to see this room a few steps closer to finished. We’ll have one more planning post soon.