I’m Not a Plasterer, but Stucco’s Done!
This stucco job is pretty big considering that I’m supposed to be averaging a project a day. But not only were there 2 more coats but there was prep in between, so that means we’re looking at Projects 14 through 17 now.
I had left tar paper lapped over the weep screeds and stuff and now trimmed it back so it doesn’t show anymore. And on to the brown coat. This coat is supposed to be thinner than the scratch coat and give a relatively smooth, even surface for the finish coat.
So how’d we do? Well, I didn’t get any pictures of the brown coat. Oops. But a few things to know. I worked really hard to get the surface flat and smooth but couldn’t make it completely free of knife marks. I floated it too close to the surface around the corner bead and then floated the finish coat right over all the metal and made the imperfect, handmade corner I said I had wanted anyway (tell me what you think about that). It dried my hands out like crazy and on the finish coat I gave in and wore gloves.
We got a rough start with the finish coat and for a bit my dad doubted if we’d finish. I started to float it onto the walls and it fell right off. So I ran out for Quikrete Acrylic Fortifier. If you’re going to try this at home, DEFINITELY USE THIS STUFF. Not only did the finish coat stick better but it was more workable, easier to mix and spread evenly. We were finally doing well with it! Phew!
Also, my dad made a big sacrifice for this. He put his Eagles game on AM radio instead of the TV.
Now with this final coat, I decided to do a sand finish, which means that once the stucco is solid but still soft you rub the surface with a rubber float, basically a really stiff sponge, and water, until the sand comes to the surface and it gets a rougher texture. As an added bonus, I could scrape the cement slurry out of the float and work it into the most obvious of my knife marks. This got me a relatively consistent surface even if it isn’t perfectly flat.

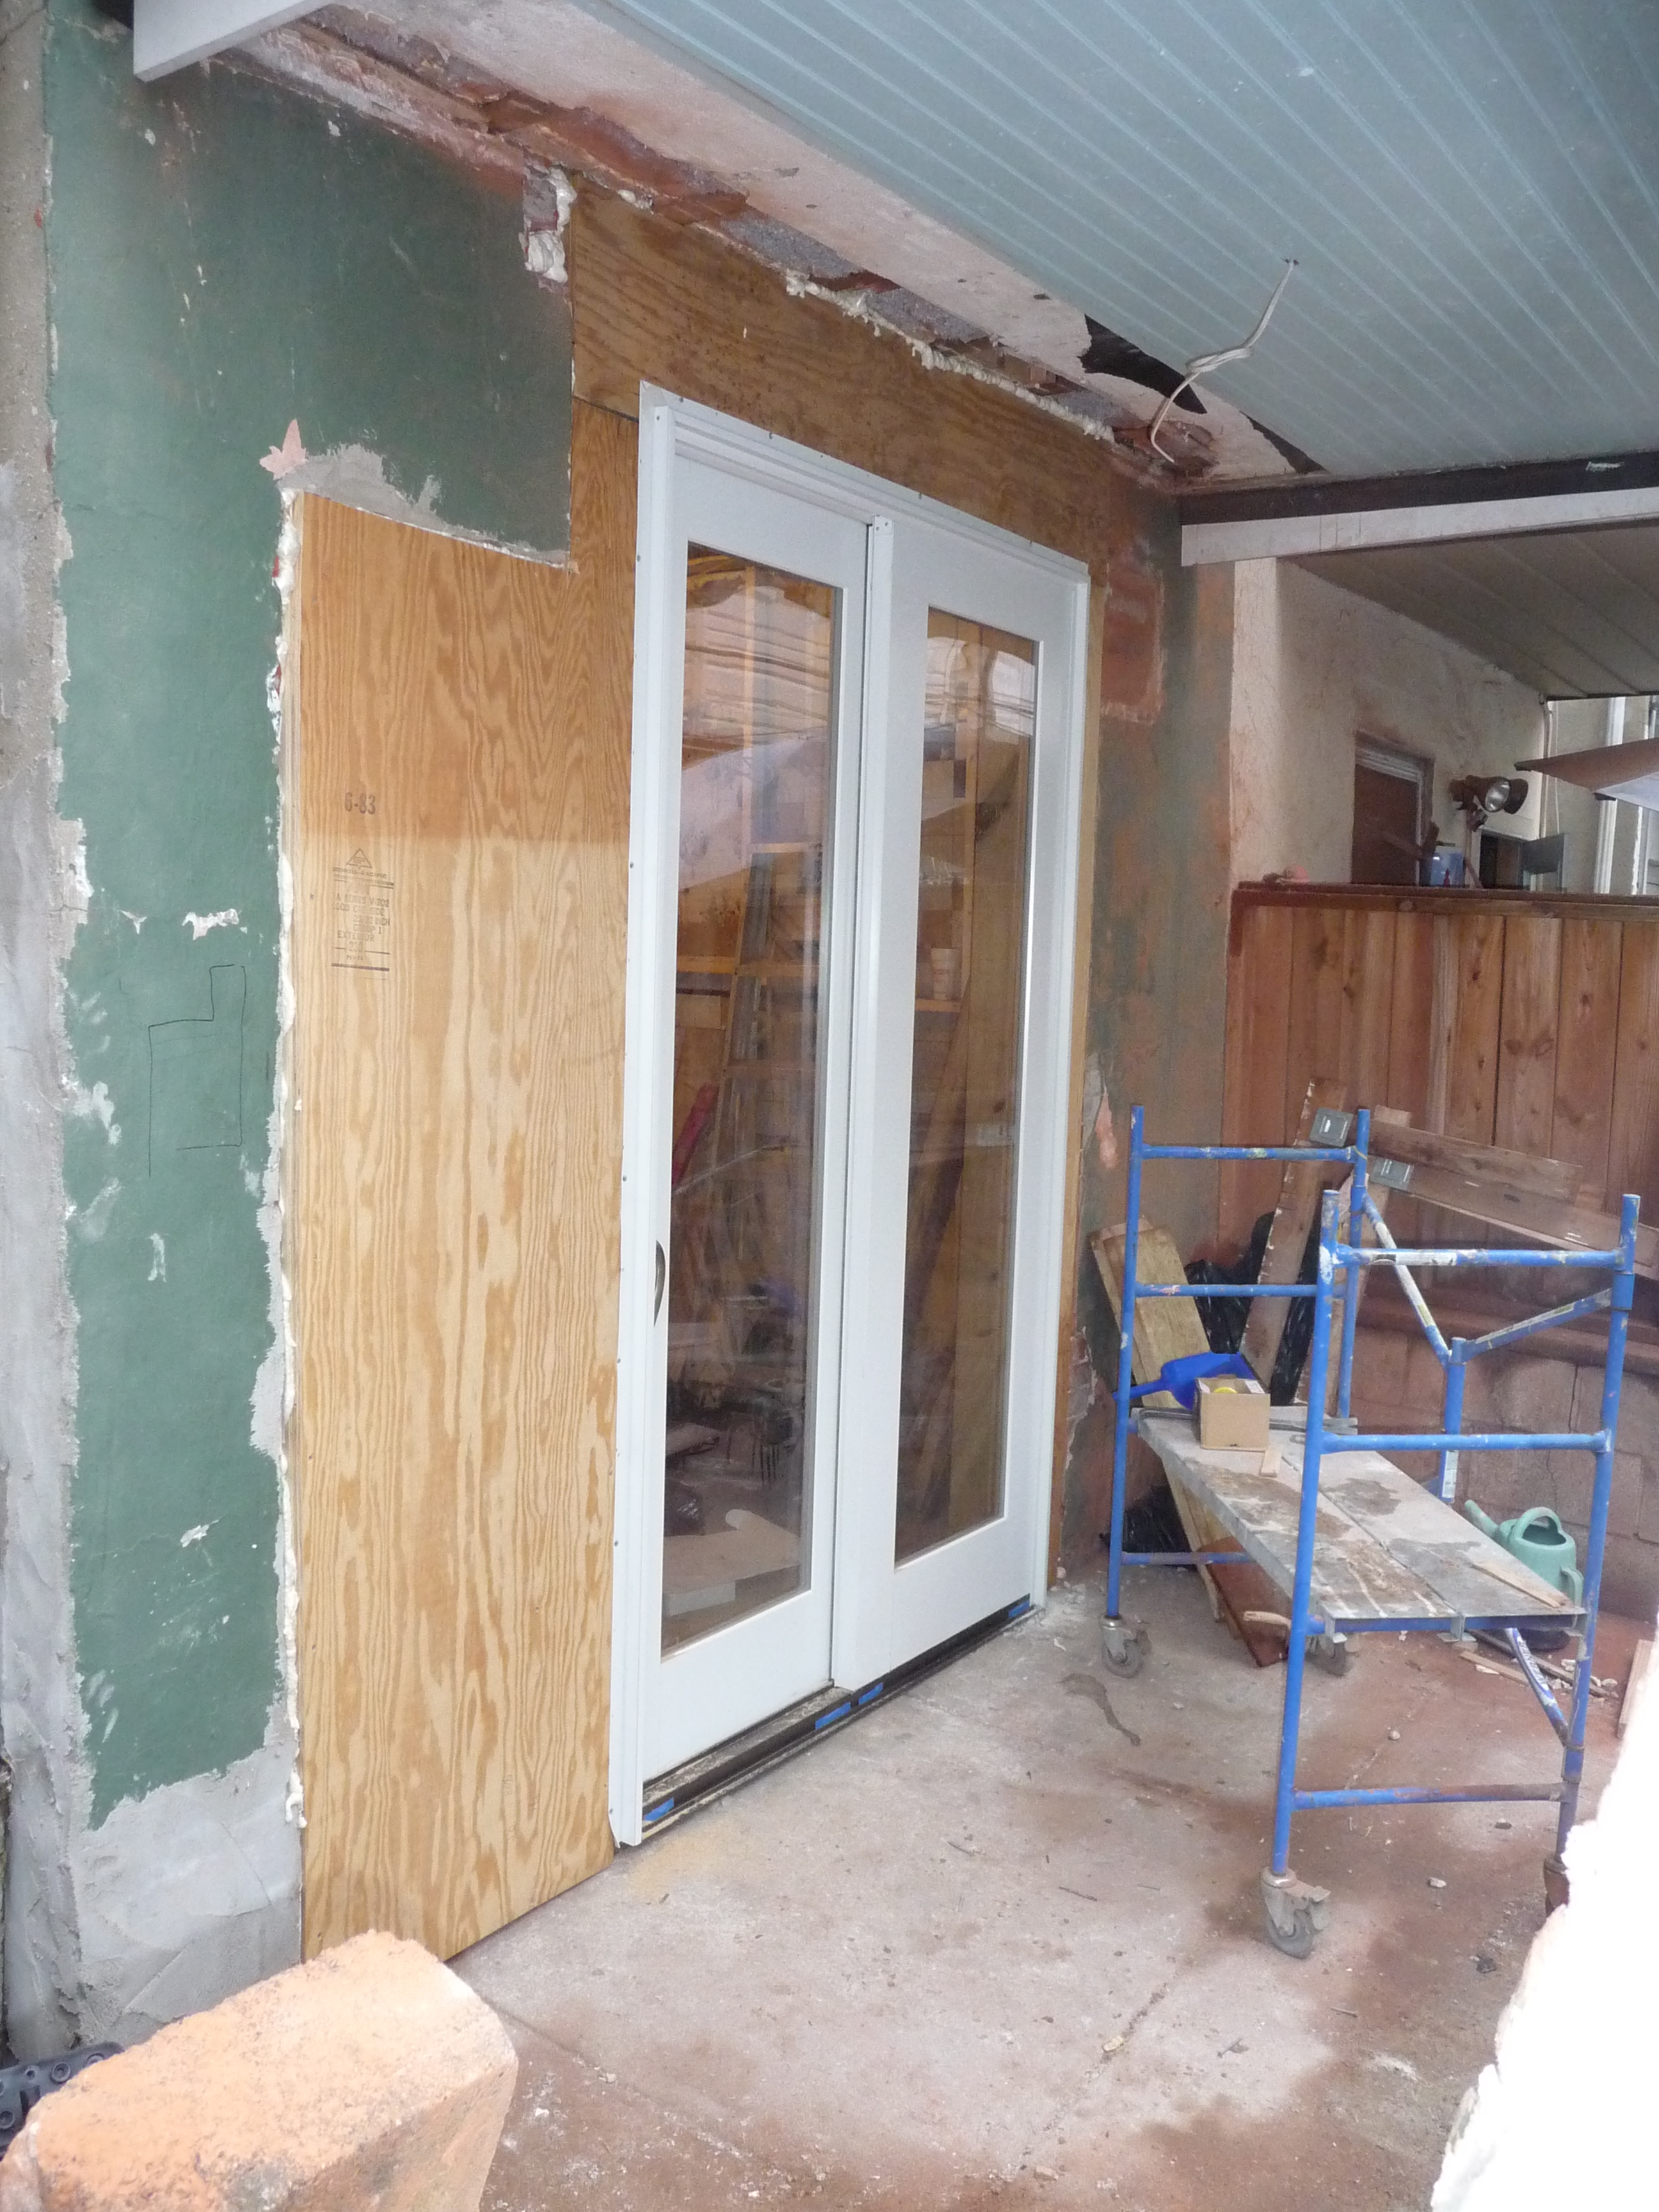
And to me this is all TOTALLY FINE. After all, before I started my crippling fear was that it would be too perfect and my house would look like a McMansion. And remember how I said having the weep screed installed level drew attention to the crazy slope of my concrete yard? Well, now you can see what I meant:

I have a plan. The city offers subsidies for improving stormwater management by ripping out concrete like this and replacing it with permeable pavers. So I’ll do that. And while it’s out I’m going to wrap the space below the stucco with cellular PVC. Since that stuff is basically inert I can bury it and make the house look clean across the ground. But for now I’m satisfied.
And since we’re close enough to “after” to guess what it looks like, let’s go back to “before.”

Back 1
And the industrial chic exposed sheathing look that I had going on for 2 years. Now I’m extra disgruntled about the ripped-out beadboard up there. The Irishman insisted we had to make sure the joists went all the way through… even though we already knew they did. (Also, I asked this before and we won’t have an answer ever but why did they put the textured plywood siding over nice beadboard??)
No Responses
Very nice. Is that lath & plaster under the beadboard?
Yes. I thought the beadboard was original, but apparently not. I think most of it is old but some boards look relatively new. And I don’t understand why the beadboard over the plaster. I’m just going to furr it out and let the plywood subfloor and spray foam above be the air barrier. I think parts of the plaster are falling apart behind the beadboard elsewhere, so maybe they just decided to cover it all up?
I am so impressed! It looks really really good.
What a transformation!
Permeable pavers sound like a great idea and bravo to the city for helping with them.
It’s to comply with a mandate from the EPA. But the green storm water infrastructure is oddly innovative for this city’s government
Wow! This was a huge job, and it looks terrific. You sure bit off a lot for this challenge, and I am impressed by how much you have accomplished, especially since you go out to dinner so often. 😀 (kidding!)
Well I bit off what I had already started and was hell bent on finishing.
I really am impressed with the plaster work! I agree that a few little imperfections make the home look more vintage and less McMansiony. And bravo on the permeable pavers idea. I believe that is what was installed on our little patio in the back yard. It prevents water from pooling on top of the patio surface, and it allows the run-off to go downhill underground to the wetlands behind us. The mason explained to me how it is not just the pavers but all the underlying structure that supports the permeability of the patio.
Great plaster work. Using government programs to improve both the environment and your own habitat is wise. Jo @ Let’s Face the Music
The only down side is I’d have to choose from a list of approved contractors to participate in the program, so we’ll have to see how they do with an uncompetitive process like that. Maybe I’ll do it partly DIY, but no need to plan too hard for what is probably a 2019 job.
looks amazing. what a huuuuuuuuuuge improvement! and great job on your challenge – you must be proud of what you’ve accomplished!!! and, as an aside, your yard is going to be such a cozy haven when you’re done.
“The city offers subsidies for improving stormwater management by ripping out concrete like this and replacing it with permeable pavers.” Wait…what?! Why didn’t I know about this?! Must Google…
Could you provide a link to this stormwater management incentive program? I’m having trouble finding info on it. Everything I find on the PWD website refers to non-residential properties… Thanks!
Here you go! It’s called rain check. https://phsonline.org/programs/rain-check/
It’s amazing how these little personal posts connect people to what is happening in their own city and other cities and towns. Rae, I hope you find the information and connections you need.
Yes! I got Chad’s link and this is very helpful info. Thanks again!!