Kitchen Drywall Resumes: The Hardest Part
So my kitchen is coming together. The sink and interior doorway walls are mostly done, but the fridge/stove and patio door walls are not. You might remember this framing for the soffit on that side.
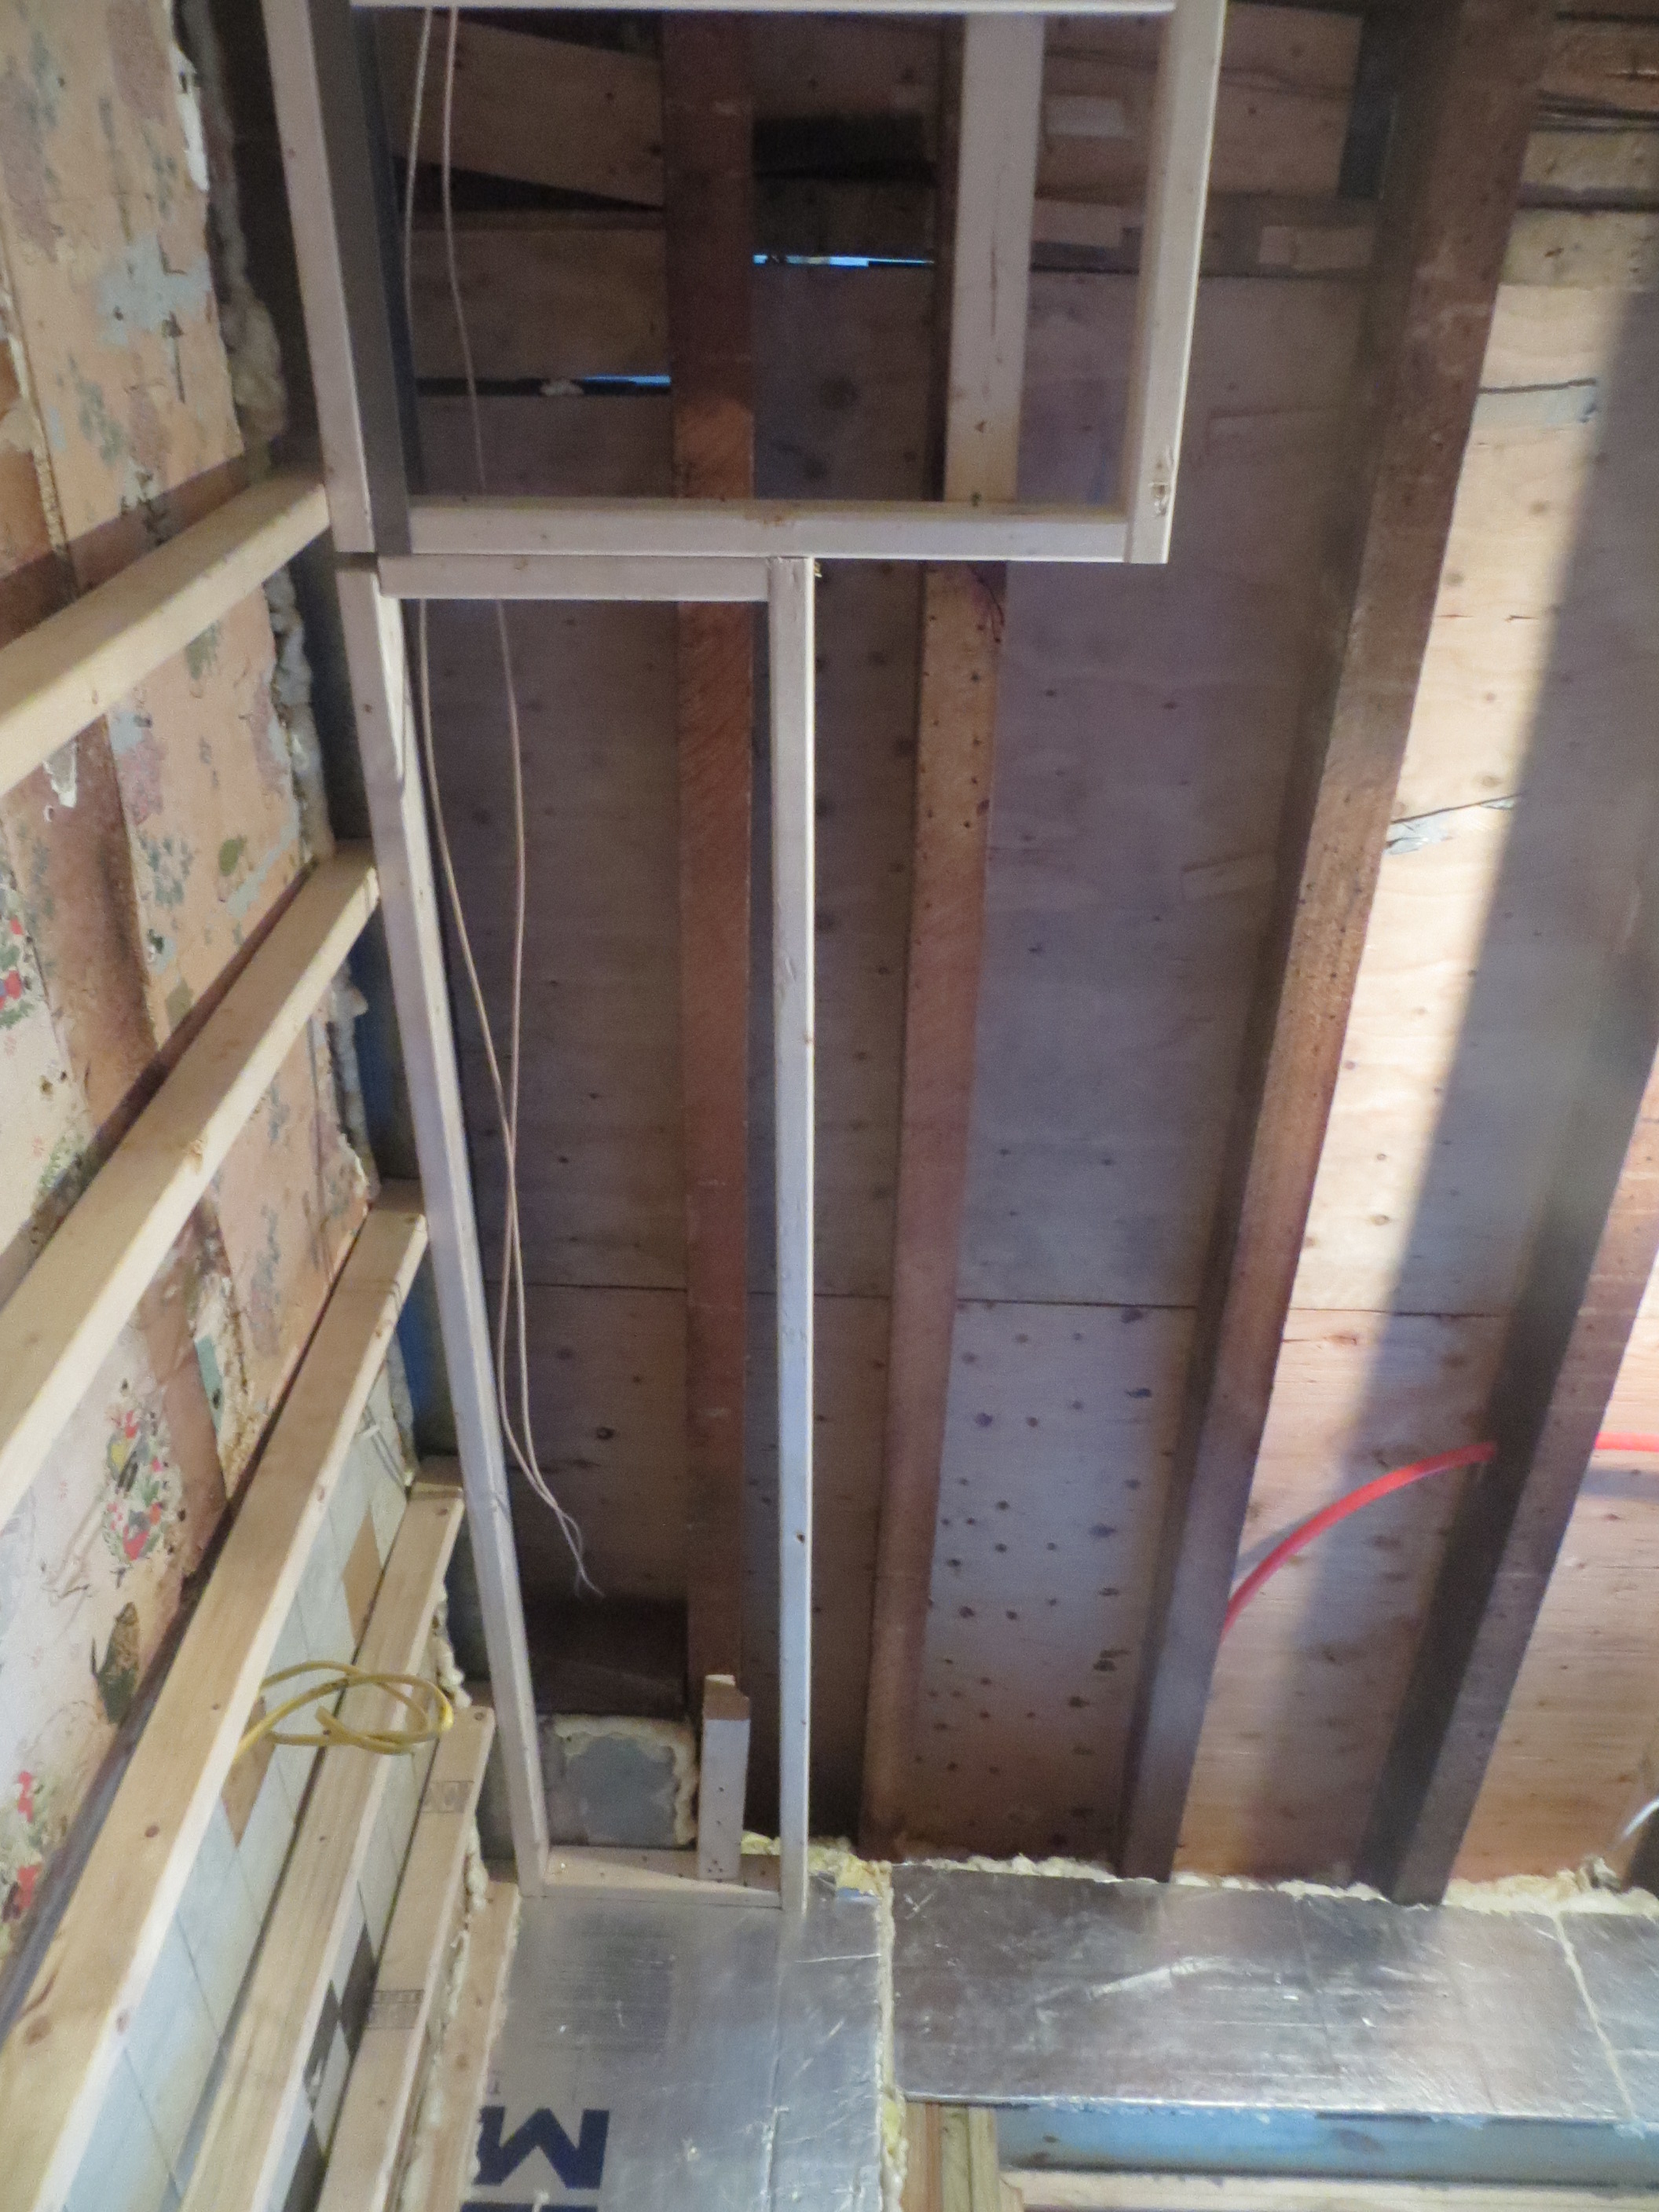
Square soffit to cover crooked joists
Gotta love the crookendess, right? So to resume work in the kitchen I started with building this:

What is this framing, a coat rack?
Short sticks screwed onto longer sticks. What is it? A coat rack? Made out of framing lumber? With every peg a different size? Hmm… let’s see what happened next.

Drywall attached to the sticks! Do we see where this is going yet?
Moving on…

Soffit front in place!
It’s the front of my soffit! Those short sticks hold it to the joist. Anchoring them into metal tracking was really a life saver here.

I pity the taper who has to work on this sliver of ceiling.
And up goes the ceiling! Yes, the ceiling went up after the wall. Not the best way but it’s only 3 inches. There was no other way to do it. You can also see that my “normal” strips of ceiling where I have room to work are held up with wood blocks. I’m making the exposed parts of the joists a consistent height throughout the room and building this ceiling crooked to meet them.
So then this U shaped notch was fun. I’ll have 5 more of those to do on the other wall.

More soffit drywall
And now let’s talk about one more thing. The bottoms of the joists aren’t just crooked. They’re also uneven. Because I put the wood blocks about the same distance from the bottom of each joist, this means that the ceiling slants downward on either side of one joist that’s a little deeper than the others. You can see that above, and below:

Exposed beam ceiling coming along
I’ve decided that this bit of recently added crookedness is fine. But I’ll probably want the walls and ceiling painted the same color to help all these crazy angles (including the soffits and pipe chase) disappear. And anyways, I love the way the beams look!
What do you think?
No Responses
Love it. And you know me, I always paint a ceiling. So that’s the right choice! Depending on the color, I’ll often go one shade lighter on the paint strip on the ceiling, or add just a bit of white to the wall color and use that on the ceiling. I love the beams.
I’m not really ready to plan out paint colors yet. Except that my radiators and trim will all (tentatively) be white. The patio door, like the antique doors I bought last year, was supposed to be white but is too beautiful to paint now.
Of course you haven’t planned colors! You haven’t asked me my opinionated opinion yet. 😉
At least you’re self aware.
I just finished a house. I’m allowed to be giddy for a few days
I know the feeling. But I’m allowed to be snarky whenever I want.
This is going to be fabulous. You are very young to be thinking in these terms, but try to imagine the family that inherits this house from you. They go to do some minor reno work, and they say, “What the f*** was he thinking???” Good thing you have all this documentation, so they can follow along and see what led to what. Provided the new computer technology can read these blogs. 🙂
I can’t imagine why anyone would take down the drywall I put up. If they do, it’s because they hate soffits and/or exposed beams. In which case they’ll furr the whole ceiling down to the bottoms of the soffits if they know what’s good for them!
wow its like a jig saw puzzle but you are figuring it out you must have been great at math and spatial relations
I’m an engineer!
Ha, ha! Someone thinks you are making the ceiling crooked on purpose! Love it.
On your other comment, I see what you mean about the next owners of the house. “If they know what’s good for them,” they will not question your solutions. If they rip out the ceiling, they will have their own selves to blame.
Best of luck. Can’t wait until you boil your first noodle in that kitchen. 🙂
And if someone wants a flat ceiling, simply drywalling the whole thing down flush with the soffits will make it about an inch and a half lower than the highest ceiling that could fit in the room. Of course if they want an exposed beam ceiling without soffits, they could rip out the soffits, leave gaps between the cabinets and the ceiling, find some way to deal with the way the pex radiator pipes bend outward, the awkward way the walls terminate on joists, and the odd spot in the one corner where the abandoned chimney is, make U shaped notches in the walls for the joists that I have covered, and oil the surfaces I didn’t oil in hopes of getting consistent coloring.
Your crooked ceiling will fit well with your blog title. You are doing an incredible amount of work. I’m with you on pitying the taper.
on the bright side (for them) they’ll probably take it into account with their price.
wow – things are really coming together – love love love the beams and quirky crookedness!
I’m not sure why you wouldn’t let the natural variation in the beams be the crooked element (feature, even) in the kitchen, rather than slanting the ceiling like that – but more power to you, that looks like a ton of work. It’s starting to take shape and it will no doubt look fantastic in the end.
The slant of the beams is actually because the whole house settled. The foundation, the brick walls, everything. So the ceiling had to slant some. Building down the beams to an even height from the bottoms was the easiest way to do it actually. To get a consistently slanted surface with varied beam depths would have been really hard. But then, sheetrocking the wall that meets these beams is gonna be a real pain now.
We have a similar ceiling issue, is there now a finished photo of your ceiling?
Hi Denise, I can take you one! I now have it primed but not painted with the finish coat. You can kinda see it in this post: https://chadscrookedhouse.wordpress.com/2015/02/28/primer-progress/
But I’ll come up with something better for you if you want to see it. The room won’t be done for a bit. I’m slow.
Oh wait. This post has a better one. But it’s at night with some shadows. https://chadscrookedhouse.wordpress.com/2015/03/04/lets-talk-about-paint-colors-downstairs/